We had a party to go to recently and we were asked to bring a dessert. At the last minute, I remembered and thought, “Oh Oh, what are we going to bring”. I stressed for a few seconds and said, “I know, I’ll try to make a no-bake home-made cheesecake or something. How hard could it be?”
As it turns, a little harder than I wanted it to be. However, a short time later, I had modified my plans and decided to just do the filling and buy a flan and some pastry cases. I had seen a few simple recipes and to based my attempt on some of those.
I ended up making a lemon filling and an apricot filling using Ricotta cheese (from the shop) and ingredients from the garden (or made from ingredients from the garden). I was pleasantly pleased with how they turned out.

Lemon Filling in Pastry Shells
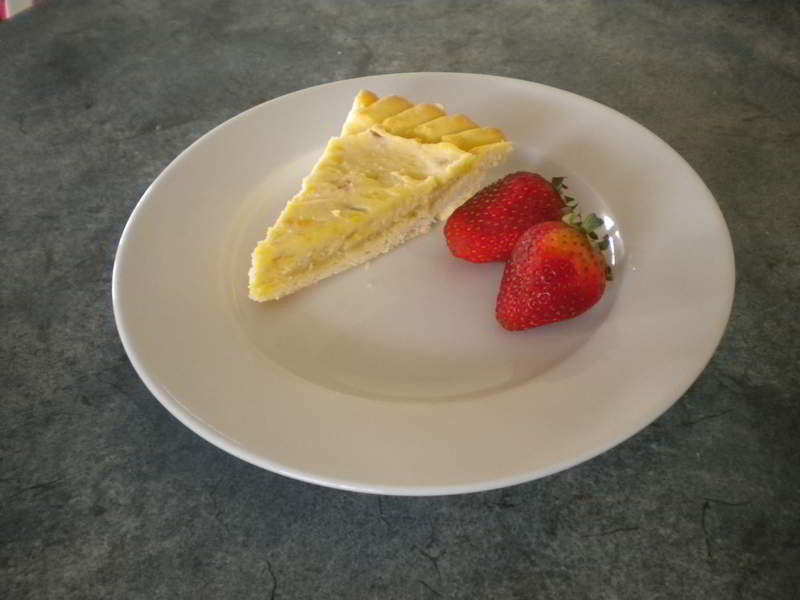
Apricot Cheesecake
Here’s how I did it. None of the measures are exact and I’m sure there are other ways to do it but this way seemed to work and it was so easy.
| Lemon filling | Apricot Filling |
| 250g Ricotta cheese Two tablespoons Honey Two tablespoons Natural Yoghurt (optional) Grated rind of one Lemon Juice of one Lemon |
250g Ricotta cheese Two tablespoons Honey Two tablespoons Natural Yoghurt (optional) Half teaspoon Vanilla essence 100g Apricot jam with fruit pieces |
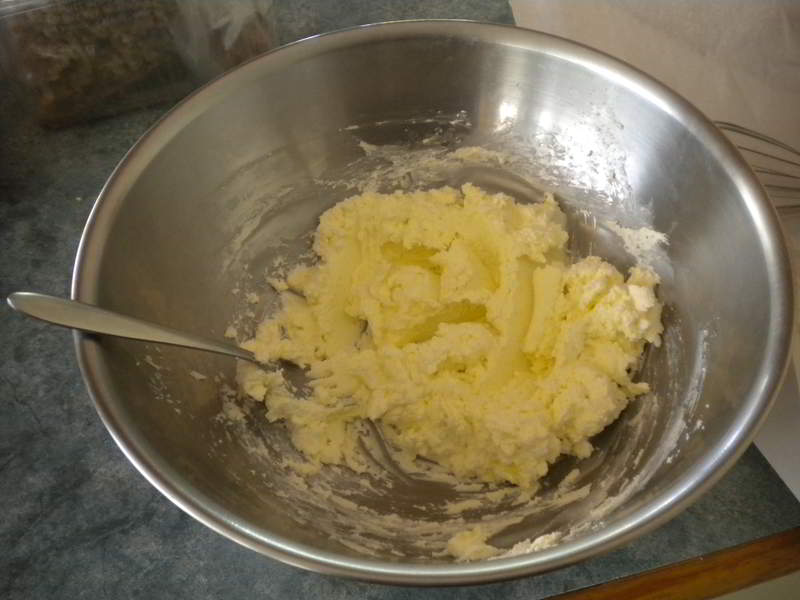
Beating the Ricotta (and Yoghurt)
The basic technique is the same for both just make sure the Ricotta is at room temperature before you start beating it to make sure it becomes smooth with no little lumps. I just used a fork to beat the mixture, it doesn’t take long. The optional Yoghurt gives it a real creamy texture.
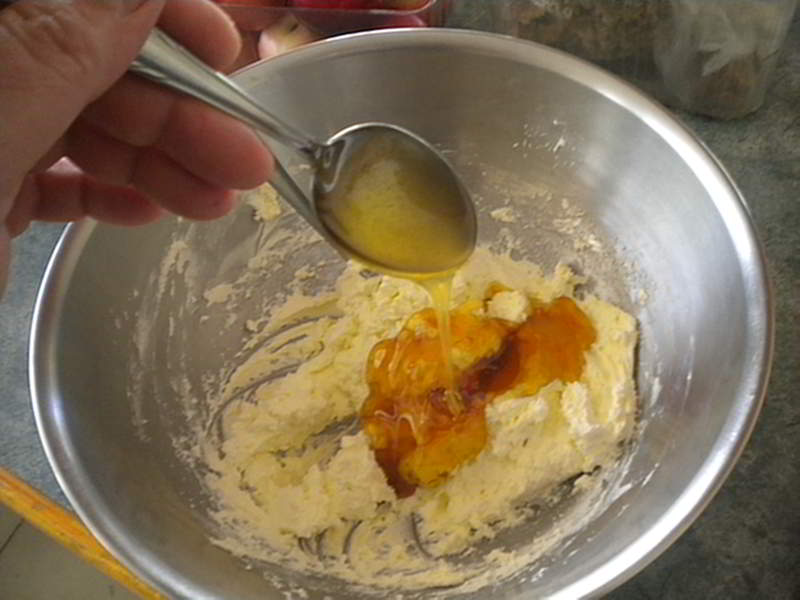
Adding the Honey
Beat in the honey. We used home grown honey from our busy little bees in the backyard but commercial honey will do just fine. You can use more or less honey according to your tastes but add it one spoon at a time and taste because some honey has a very strong flavour.
If you use more honey you may need to reduce the yoghurt so the mix doesn’t get too runny.
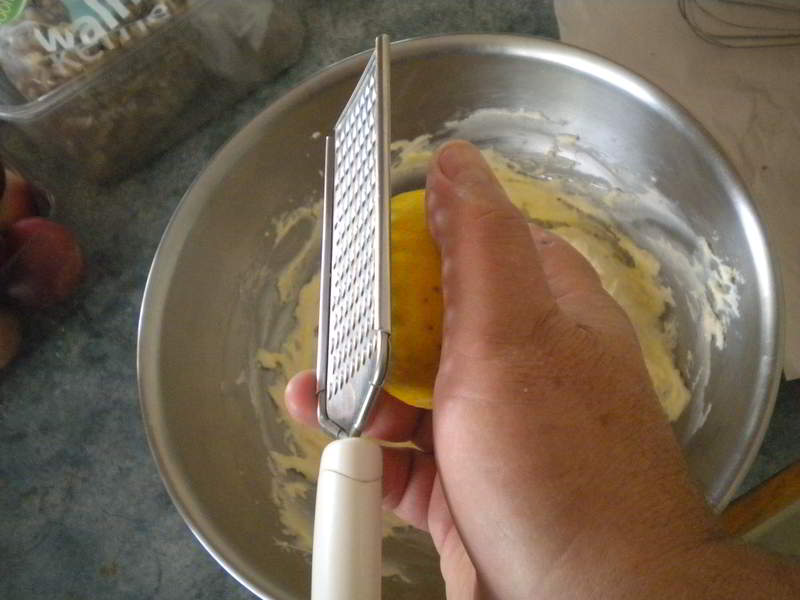
The wonderful Smell of Lemon Rind
Add the lemon rind and juice last because it will stiffen the mixture. The lemon also came from the garden.
With the second batch we used home made apricot jam (made with our own apricots – Oh, and some of the neighbour’s 🙂 ) instead of the lemon. You can also add vanilla essence but not too much. If you are using commercial jam, get one with lots of fruit and with little chunks of real fruit. Add these last as well.
Use the mixture to fill the flan or pastry shells. You can also cook up some crepes and roll up the mixture in those. Put them in the refrigerator for at least an hour and they will get quite firm, unlike the gooey mess the supermarket versions become.
These should keep a week in the fridge and will continue to improve in flavour. However, It’s difficult to know for sure as ours were gone well before then. 😀
A lot of the ingredients came from the garden and it’s possible to make it even more homemade if you want to. For example you could have a go at making your own ricotta. There are a number of sites that show how to make ricotta including this one by a mate of mine http://www.littlegreencheese.com/search/label/Ricotta
But it doesn’t matter if the ingredients are home grown or shop bought, it’s such a simple and delicious recipe and only take minutes to prepare, why not give it a go.