Dec 09

Google Grant for Timor Leste Work – The Result

You may recall, I posted recently here about the ATA entry in the Google Impact Challenge and asking for your support.

fireworks_colorful_small


Well the good news is that the judges at the presentations in Sydney were so impressed with the standard of entries that they awarded grants to the six finalists who did not receive the main awards. The ATA received a $250,000 grant to continue the good work ATA is doing in Timor Leste.


fireworks_colorful_small


This result is a tribute to all the hard work the ATA and their supporters (like you) do and everybody involved should be congratulated!

You can read more about the result on the ATA website.


What do you think of this post?
  • Awesome (6)
  • Interesting (3)
  • Useful (1)
Oct 04

The Good Earth Podcasts

The Good Earth Podcasts!

What? You have a Podcast? Yes, I have a Podcast!

tge-bannerMany will be aware that I have a monthly gardening show on 3WBC 94.1 FM community Radio in Melbourne (www.3wbc.org.au) called “The Good Earth“. This show as part of a larger group of programs and shows at Wonderful World Media (WWM). Most of the Good Earth shows are podcast on the WWM site (www.wwmn.net) and I thought it was about time I shared them here as well.

I will provide a link to the latest show at www.wwmn.net when they are put up and I have also provided a link to the previous shows here as well.

So sit back, and enjoy the madness that is my gardening show with my Co-host Kathy Smalley on

“The Good Earth”

The Good Earth – October 2014

And you can find all the shows here (http://www.wwmn.net/category/the-good-earth/)


What do you think of this post?
  • Awesome (3)
  • Interesting (4)
  • Useful (3)
Sep 01

Our Permablitz Part 1

Yes, Part 1, because there’s a lot to share 😀

We had a Permablitz at our place a few days ago on a perfect sunny winter’s day. If you’re not sure what a permablitz is:

permablitz-icon

Permablitz Defined (www.permablitz.net)

“Permablitz (noun): An informal gathering involving a day on which a group of at least two people come together to achieve the following:
    – create or add to edible gardens
    – share skills related to permaculture and sustainable living
    – build community
    – have fun
Permablitzes are free events, open to the public, with free workshops, shared food, where you get some exercise and have a wonderful time. To be defined as a permablitz each event must also be preceded by a permaculture design by a designer with a Permaculture Design Certificate. The network runs on reciprocity.”

But the definition doesn’t do justice to the amazing event and transformation that happens on the day.

We were blown away by the attendance and the fabulous transformation.
We had over 40 people throughout the day and collectively we

  • Dug 50 metres of irrigation trenches,
  • Moved 5 metres of recycled hardwood mulch for the mulch trenches
  • Moved 9 metres of straw for the chook run and garden beds
  • Assembled a vertical garden trellis around the 25kL tank using 12 metres of recycled wire-mesh fencing
  • Installed the posts and sleepers for the 14m fence for the chook run
  • Planted out 5 metres of strawberries under the grapevines
  • Weeded the area around the grapevine and transplanted the Pepino
  • Weeded, mulched and replanted three raised veggie garden beds
  • Weeded the pathways and areas surrounding the veggie garden
  • Pruned several fruit trees in the orchard area
  • Moved 2.5 tonnes of old sleepers into temporary storage
  • Installed grey water irrigation system to the mulch trenches


Phew! No wonder we were tired 😛

So, just to whet your appetite, here are a few selected photos taken by Edwin Reese from PhotoProTours.com on the day as part of the Blitz. Edwin has kindly given permission to share these here but note that Edwin retains copyright on the photos as per this notice

All photos on this post (Copyright 2014 – Edwin Reese – PhotoProTours.com)

_R140164_R140035  _R140039_R140159     _R140108 _R140099 _R140080 _R140073 _R140070 _R140064 _R140059   _R140026 _R140131_R140127_R140169


We have plenty more photos and possibly a video of the event to come in part 2.


What do you think of this post?
  • Awesome (9)
  • Interesting (3)
  • Useful (3)
Jun 22

That Garden Bed

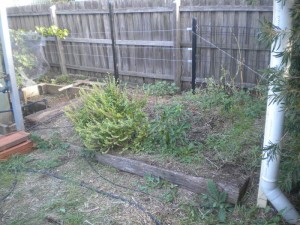
Oh, remember that garden bed I mentioned in the previous post, you know that one that also featured in a a very early post (here)?

newgardenbed001

Yes, that’s the one. Well I did a bit of work on it last month and, of course, there was a bit of scope creep, and the simple cleanup turned into a major refit!

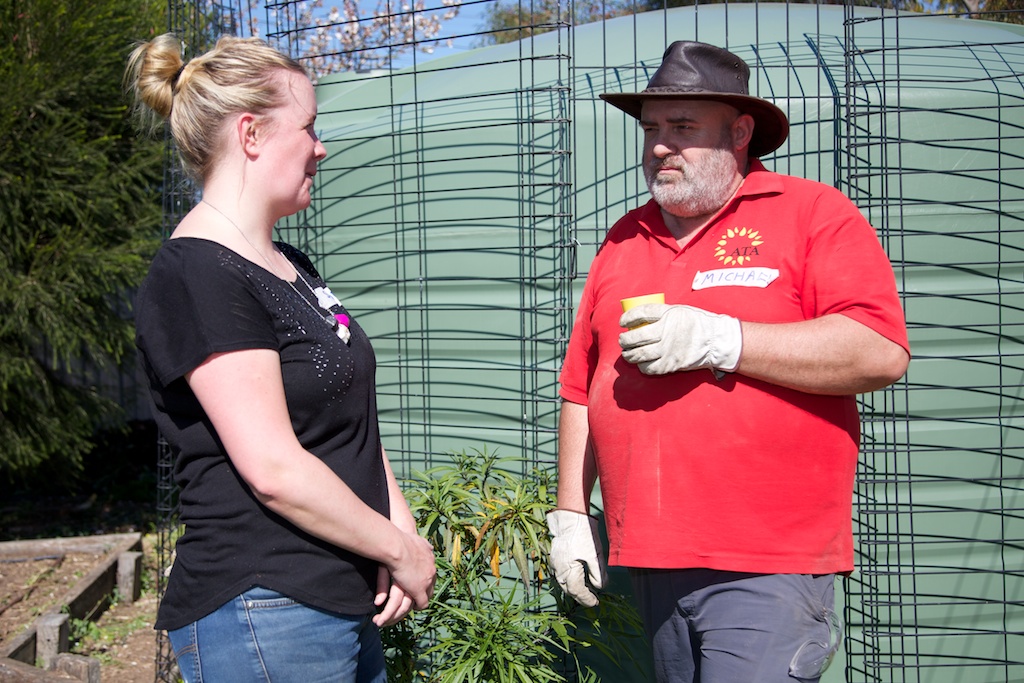
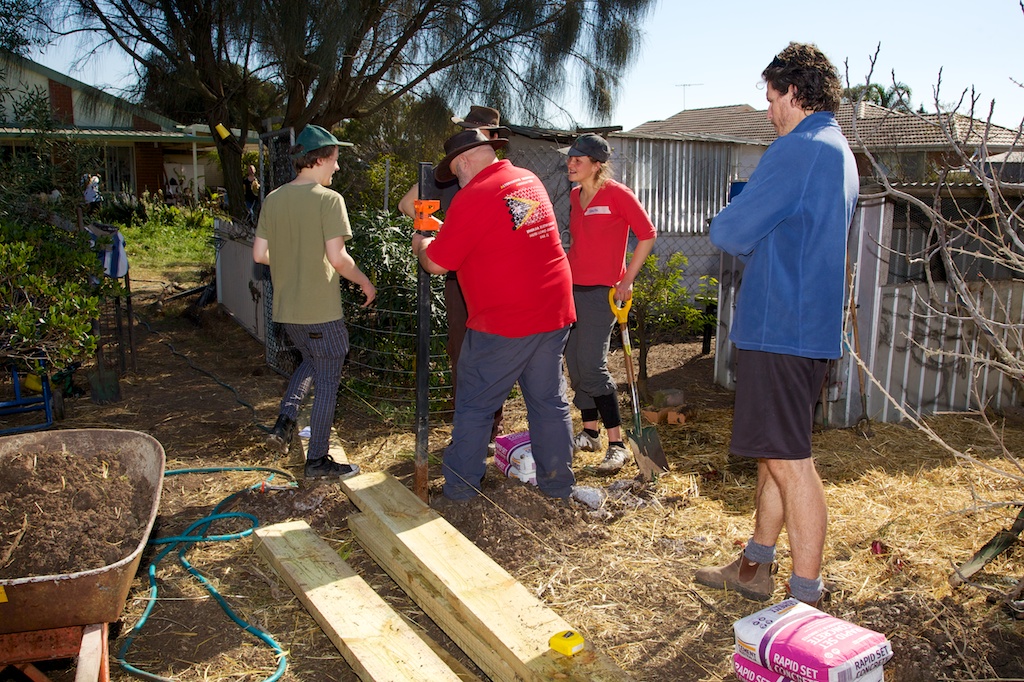
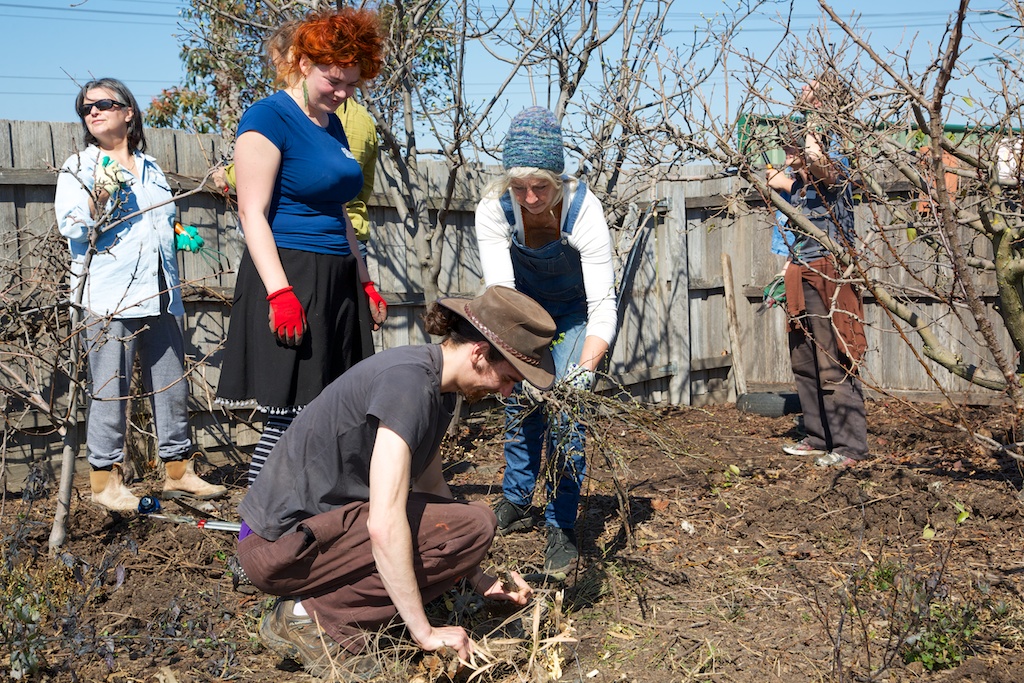
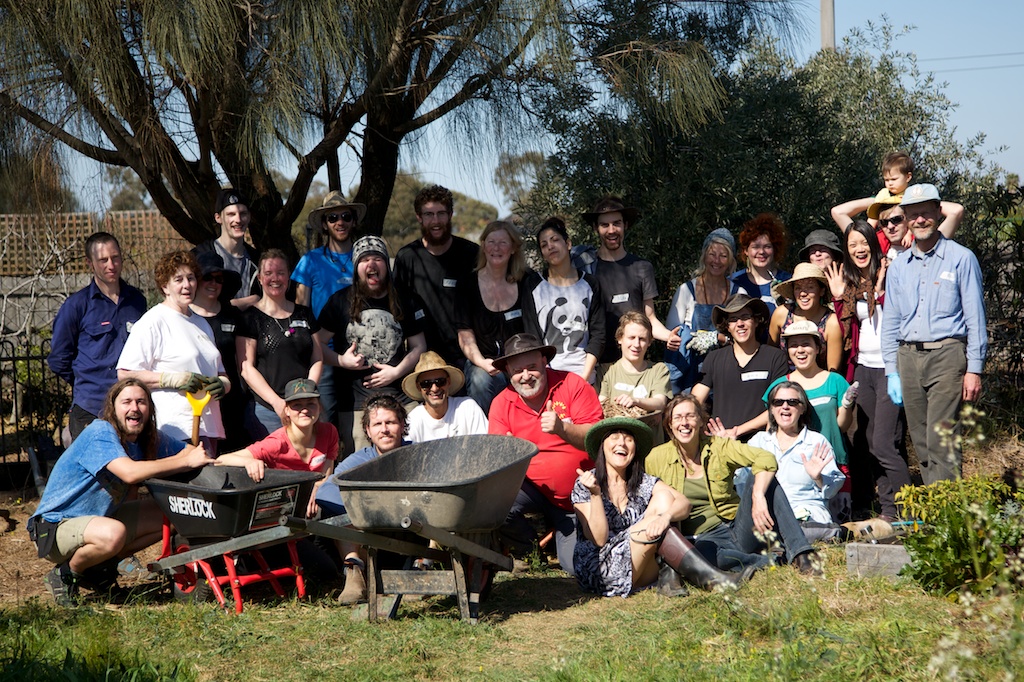
It all started when I decided that I wanted to redo the borders as part of the preparation and general cleanup prior to our Permablitz in August (Oh, have I mentioned we’re having a permablitz?  😉 ). I will provide some more detail closer to the date but you can also find all the details at

http://www.permablitz.net/calendar/icalrepeat.detail/2014/08/30/525/-/permablitz-159-st-albans

Anyway, I started with a simple idea. Remove the existing rotting red-gum sleepers and replace them with newer bits. Sounds simple, right? and it would’ve been, but…I got to thinking (oh, oh).

Since the original bed was built, I have installed a grapevine trellis running behind it with some mesh fencing and steel posts for support. Wouldn’t it be nice if I could use these posts as the corner posts for the sleepers together with the posts at the front that support the verandah and storm water pipes to the tank.

gardenbed-upgrade-01
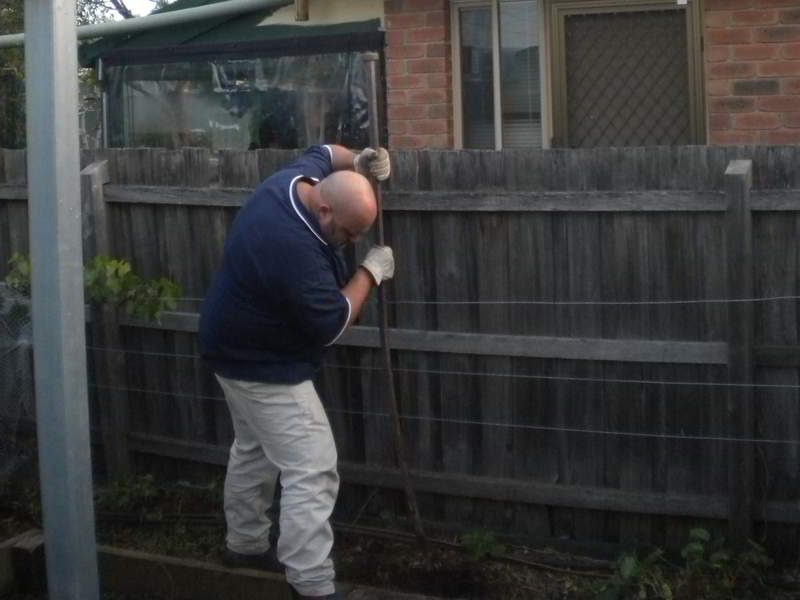
But, of course, the existing posts were in the wrong spot to make it work properly so they would have to come out and be repositioned. Which meant dismantling the fence and unhooking the trellis wire supports for the grapevine.

I would also need to place a new post in the other corner to complete the process.


gardenbed-upgrade-04


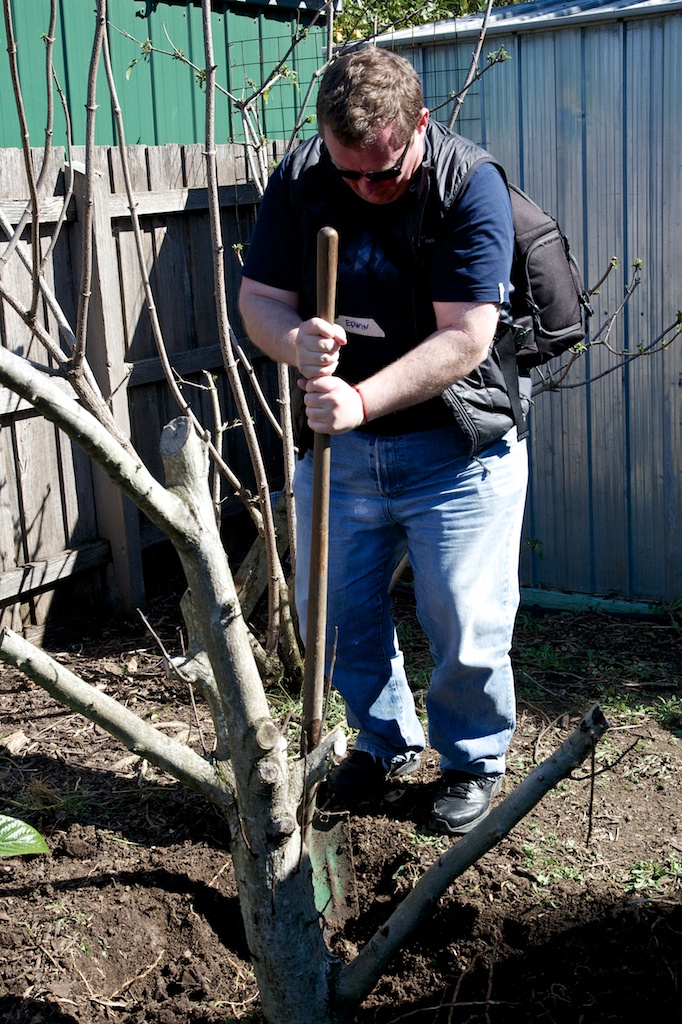
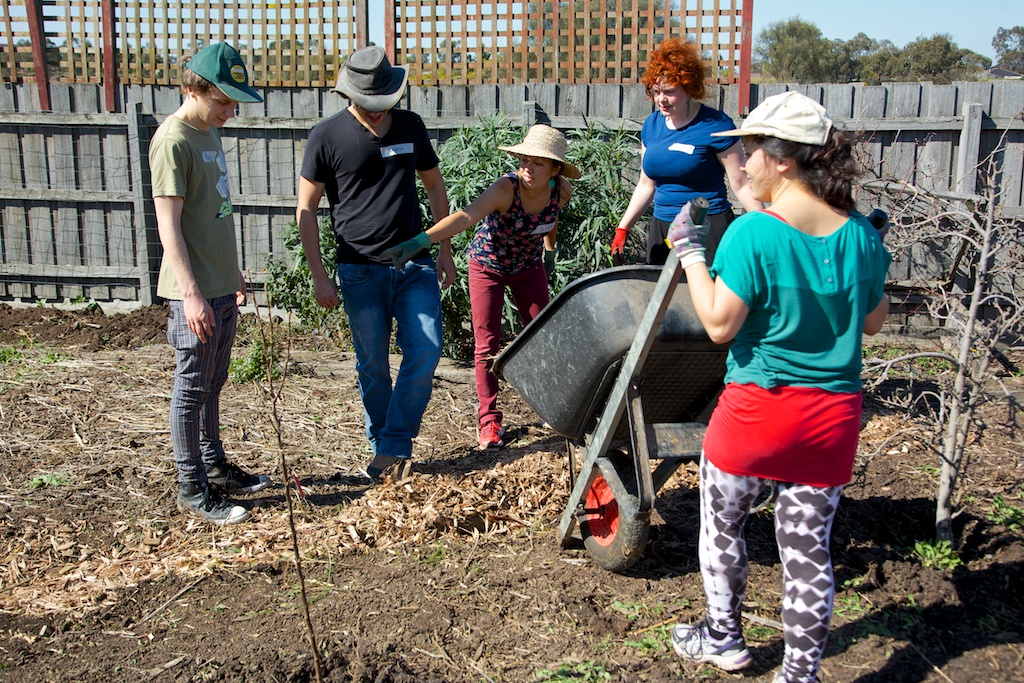
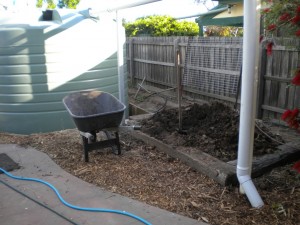
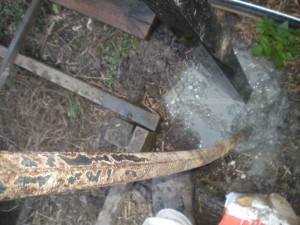
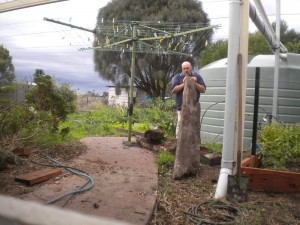
So there was nothing for it but to start digging!
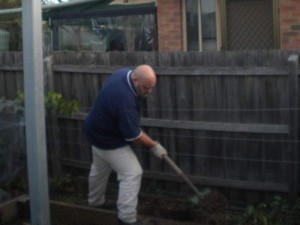
gardenbed-upgrade-05


And more Digging!


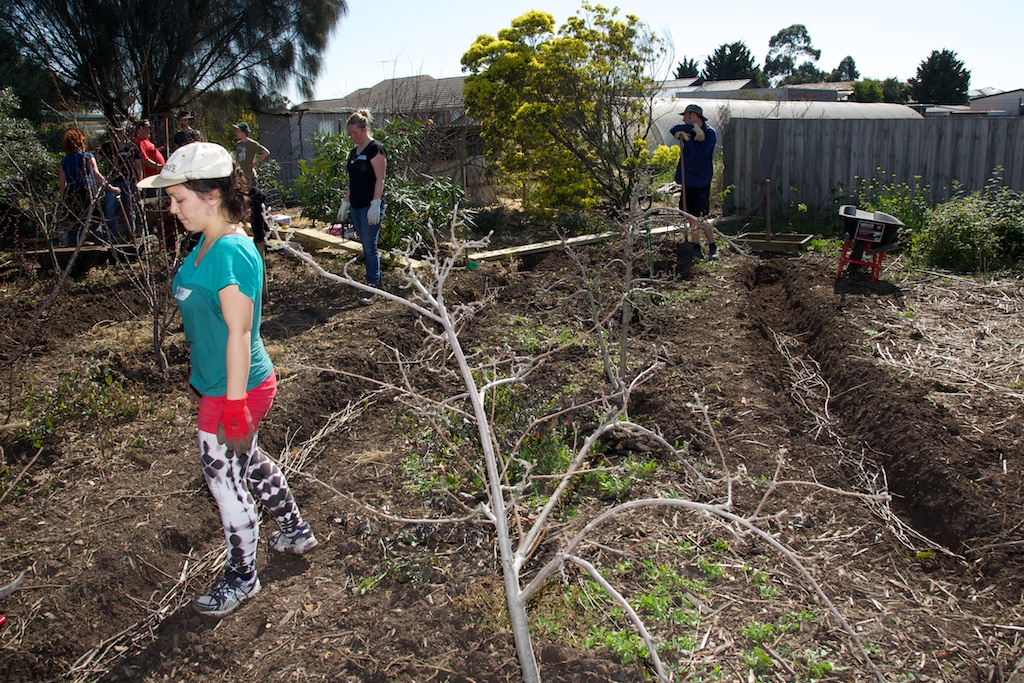
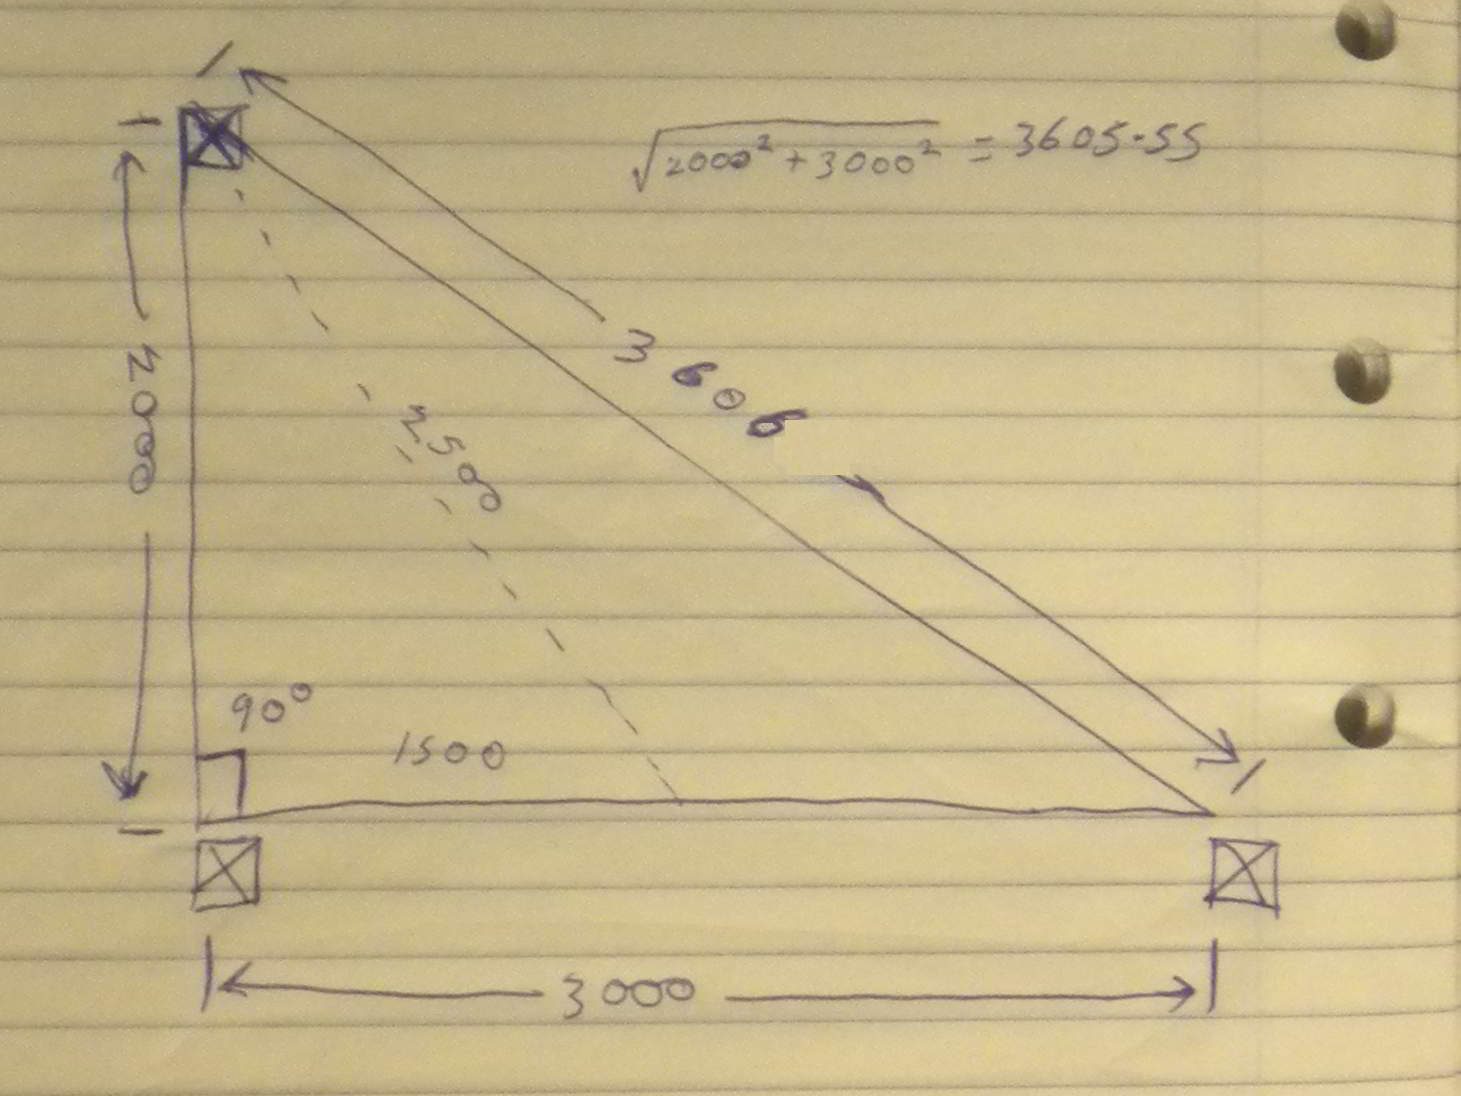
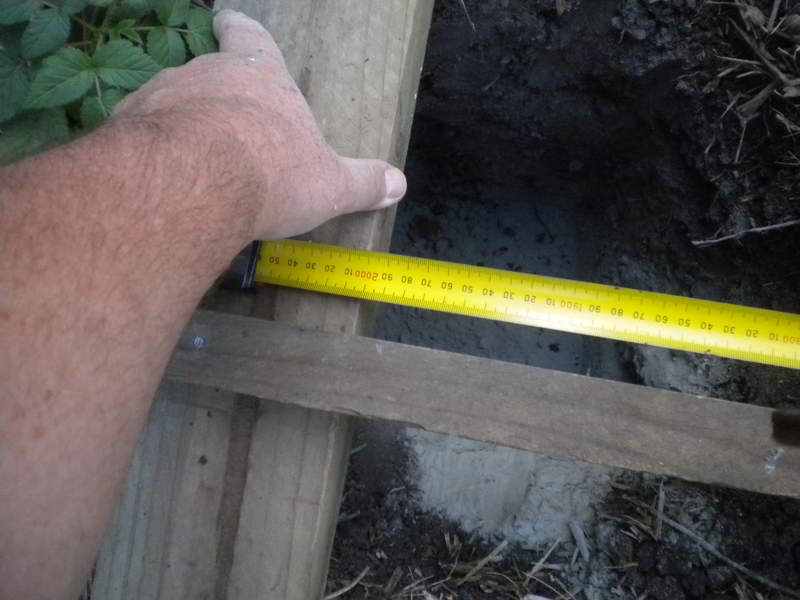
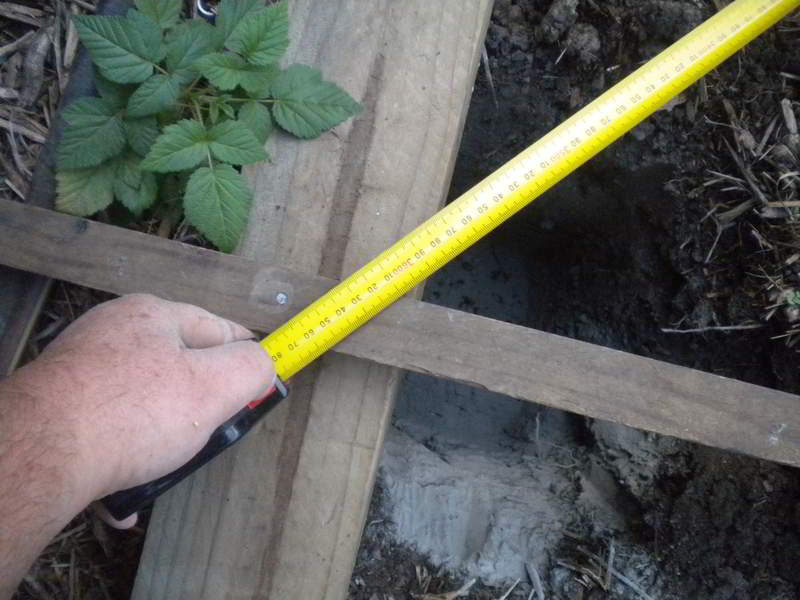
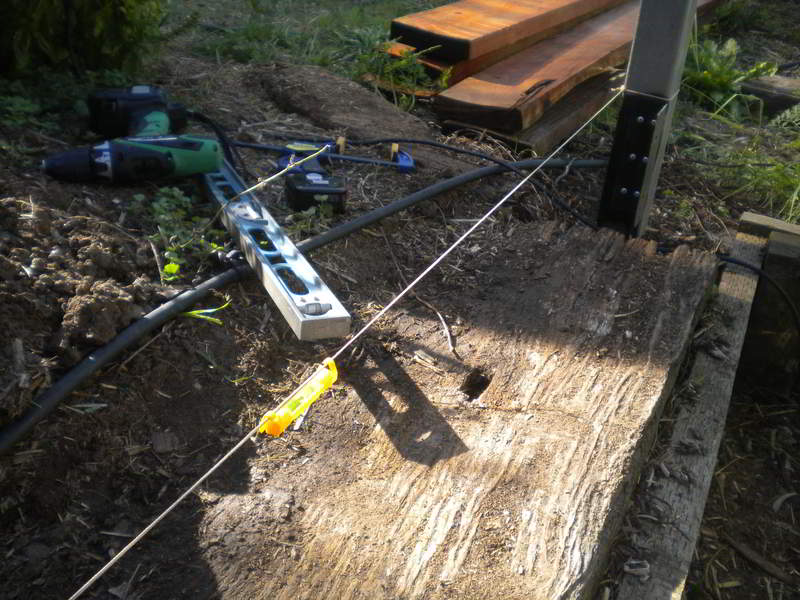
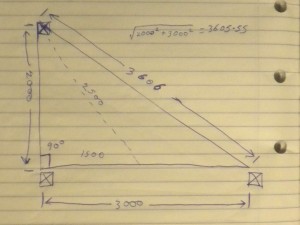
Now, there was a bit a planning involved before all that hard work. For example, making sure that the bed lined up with the trellis and support fencing, and was positioned away from the boundary fence which is overdue for replacement. The idea was to make the mesh fence double as a brace for the trellis and a climbing frame for plantings in the bed. It was also important that everything was square.

So how do you make sure that everything is square. Good old Pythagoras provided the answer a few thousand years ago. The diagram shows some of the measurements used to make sure the posts were going into the right place.  The second set of measurements with the dotted lines show the results of scaling up the classic 3-4-5 triangle to get a right angle (90 degrees) as a check.

gardenbed-upgrade-06
gardenbed-upgrade-07gardenbed-upgrade-08

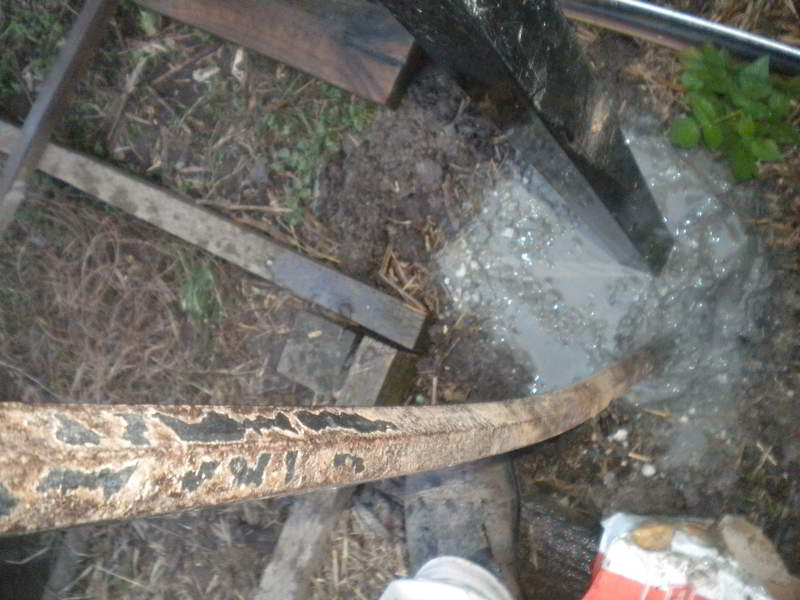
I decided to concrete these posts in place because I needed them to be solid. The trellis wires are under tension and the original posts had moved a little, despite the bracing, and it was also going to be used as a climbing frame. Suddenly, the next bit of scope creep appeared! If I made the posts a bit longer and put some horizontal bracing between the four corners, I  could drape plastic film over the whole lot and make a temporary greenhouse for winter and extend the growing season in the new bed!

Damn! now I had to bolt some extensions on the bottom of the second hand posts to extend their height for the greenhouse idea. Oh well! it’ll be worth it 🙂

gardenbed-upgrade-09gardenbed-upgrade-10

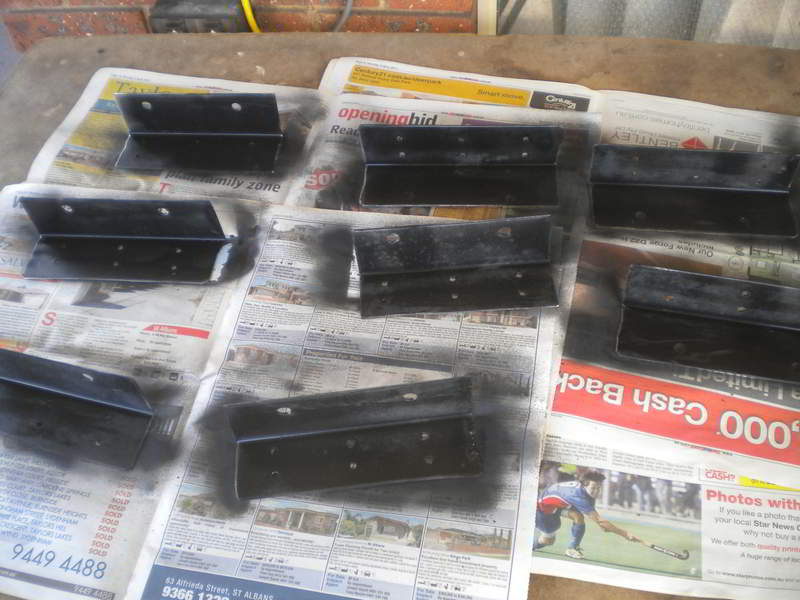
At this point a friend said to me, “why are you mucking around with the grinder making brackets from old bits of post scraps when they’re so cheap at the hardware store?”

To be honest, had I realised the work involved, I may have done just that. However, I enjoyed making them and I was able to re-purpose some material that would have ended up in the scrap bin rather than buying new material.

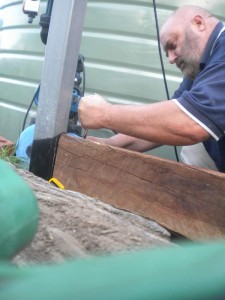
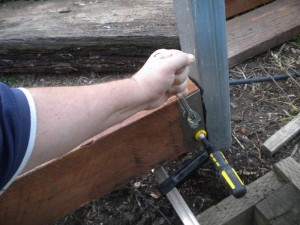
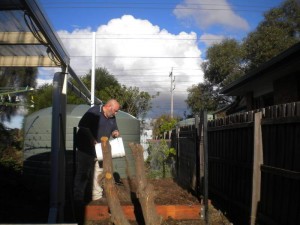
So I cut up the brackets, drilled the holes for the mounting screws and sprayed them with anti-rust paint.
gardenbed-upgrade-11 gardenbed-upgrade-12      gardenbed-upgrade-13

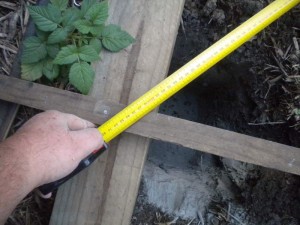
Then it was just a matter of bolting the brackets to the posts at the right height and bolting the sleepers to the brackets. Easy 🙂
gardenbed-upgrade-14 gardenbed-upgrade-15     gardenbed-upgrade-16

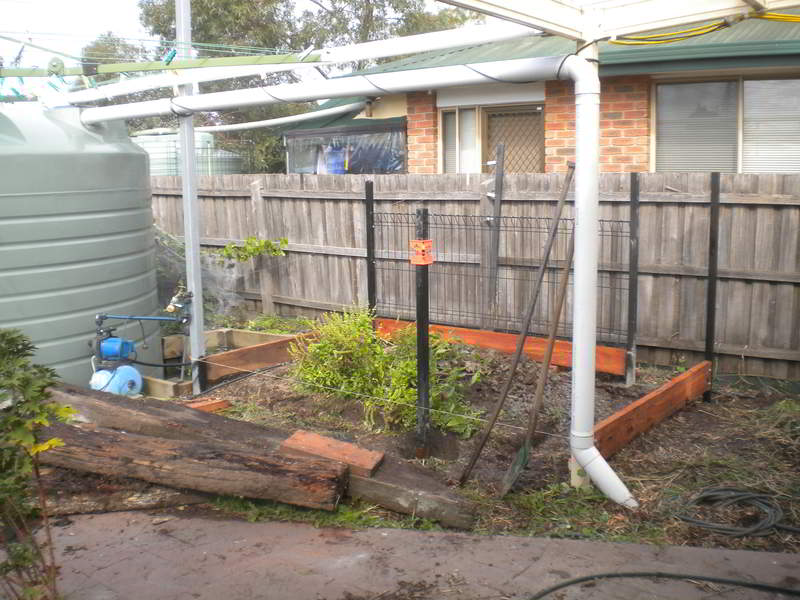
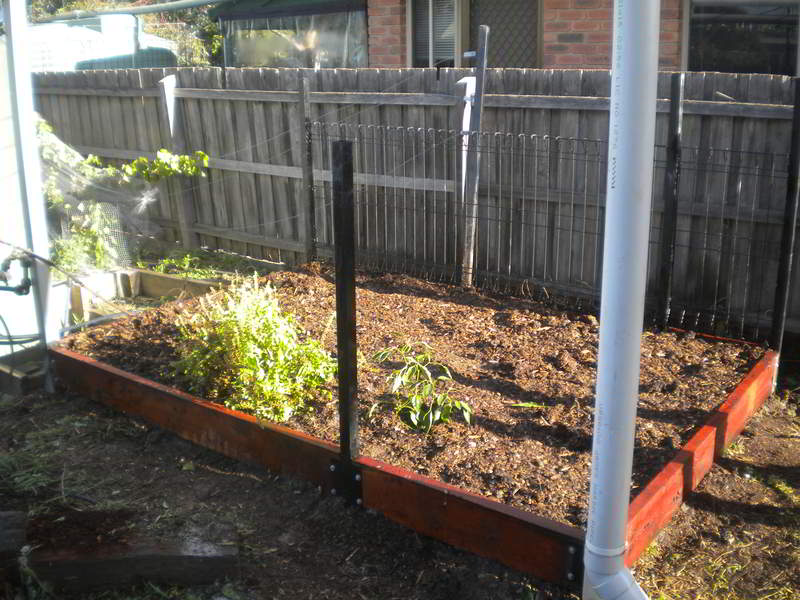
Now at this point, with some of the sleepers in place, I needed to put in an extension support because the sleepers were not long enough for the garden bed. I had already done this at the rear of the bed with a post because I wanted the mesh fence for the climbing frame but what was the best way to do this at the front of the bed, and then…more scope creep!!

What about putting another post at the front and extending it later to the top support for the pipe to the tank? That way I could install a door and make the greenhouse more permanent. No problem!

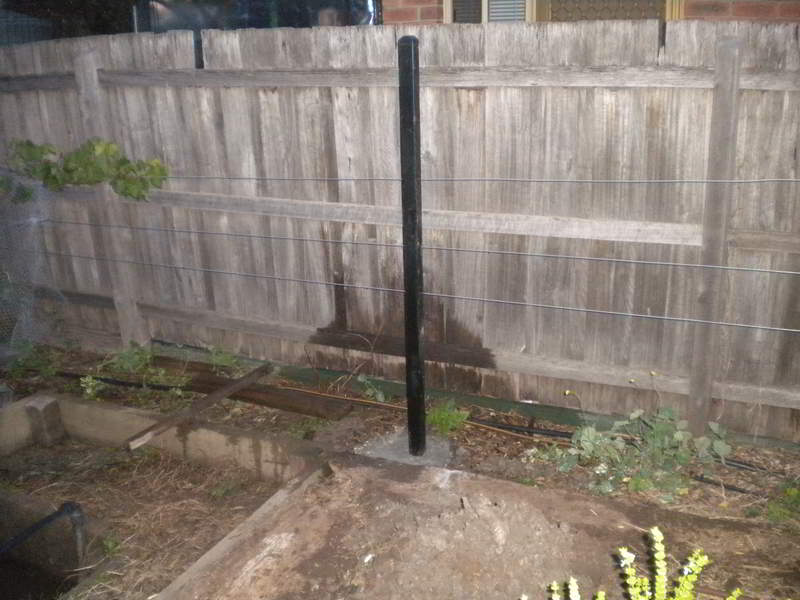
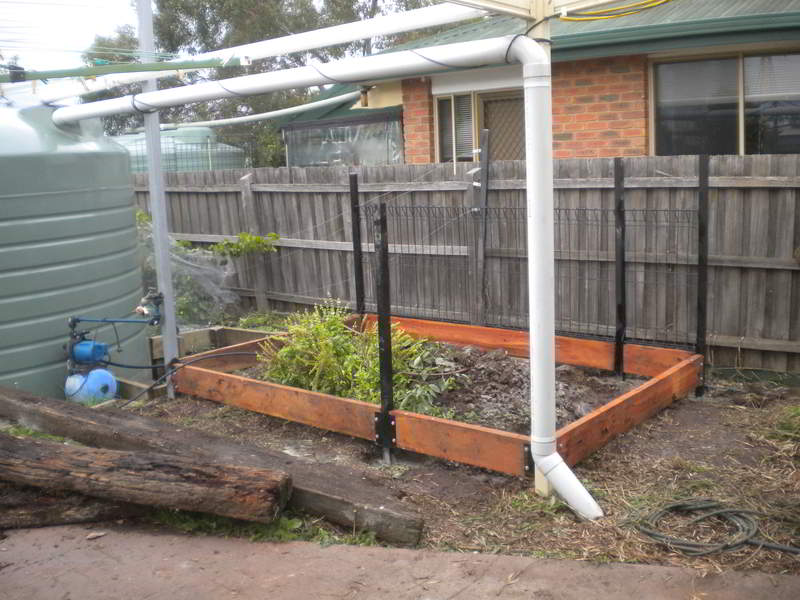
So in went another post making a 900mm opening and the remainder of the sleepers.
gardenbed-upgrade-17gardenbed-upgrade-18
gardenbed-upgrade-19
gardenbed-upgrade-20


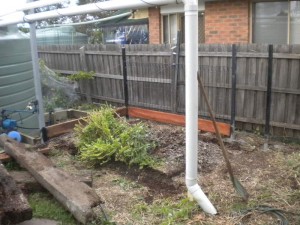
The finished Product Tada!!

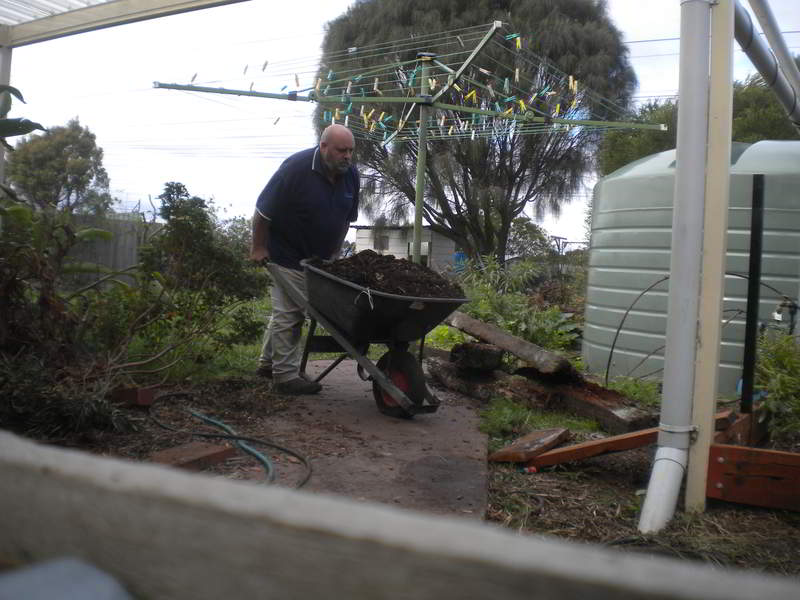
“But what about the soil?”, you ask? “Oh yeah!” Ok, let’s get some soil and chicken manure into the bed.

gardenbed-upgrade-21
gardenbed-upgrade-22gardenbed-upgrade-23
gardenbed-upgrade-24
gardenbed-upgrade-25

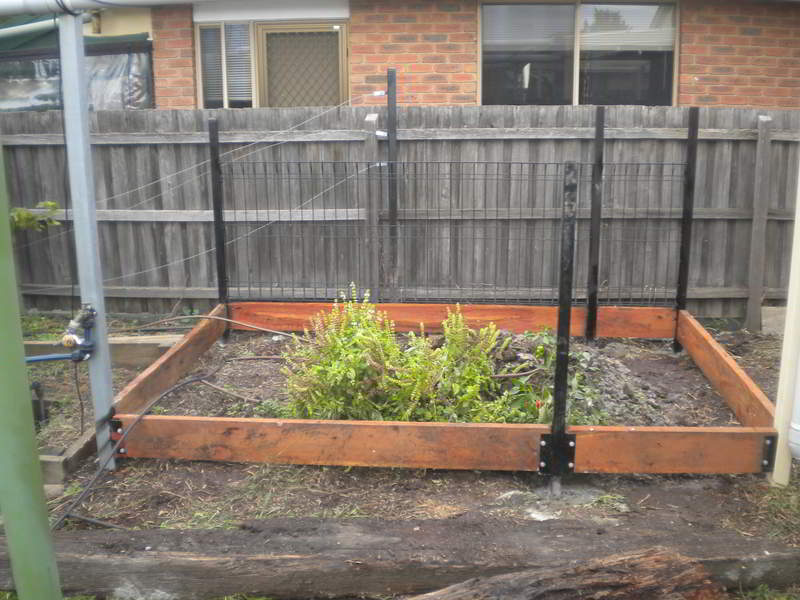
That’s Better !! Several barrow loads of composted tree pruning and chicken manure later and it’s finished.

Even the basil and capsicum survived the rebuild.


gardenbed-upgrade-26

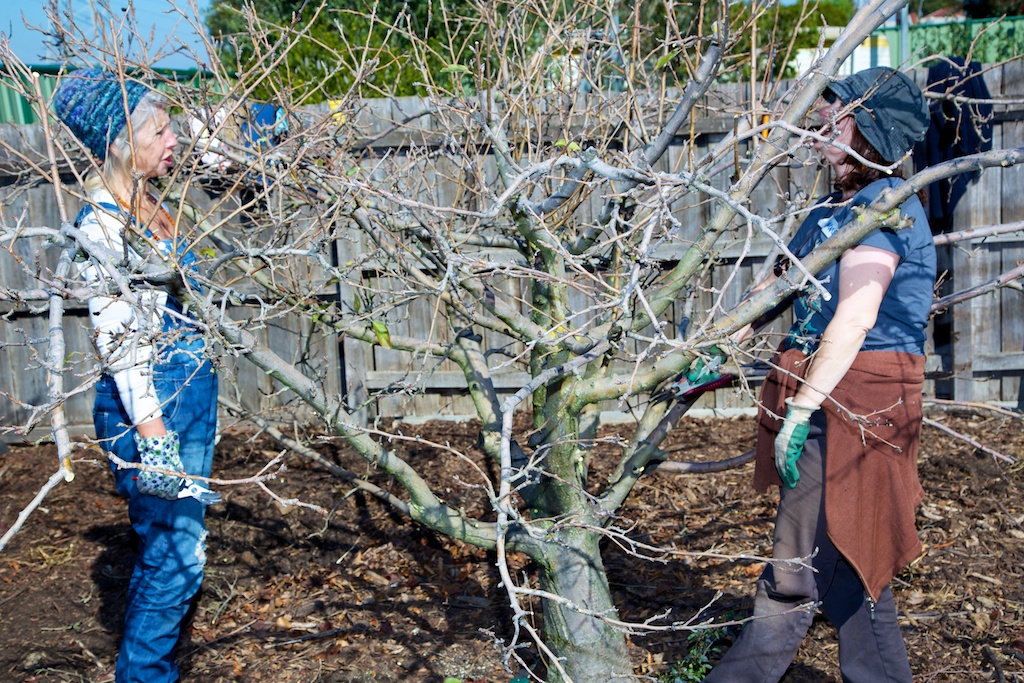
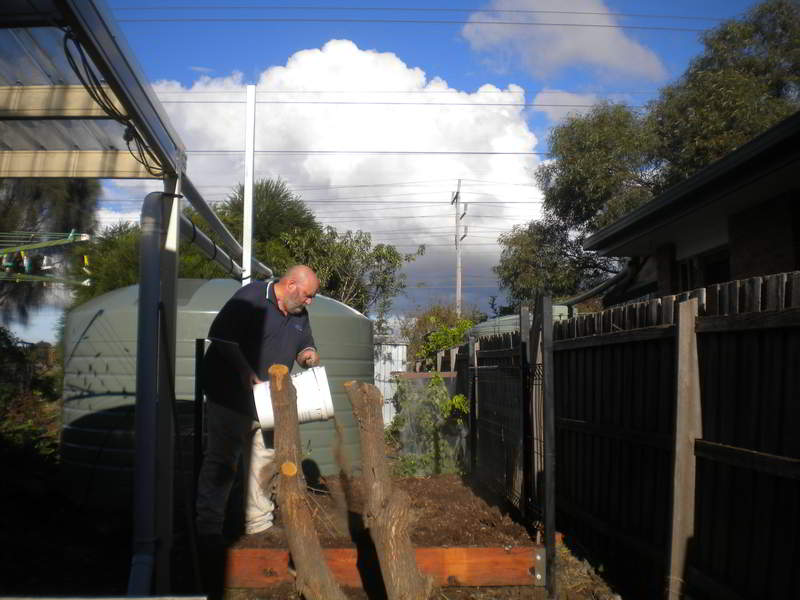
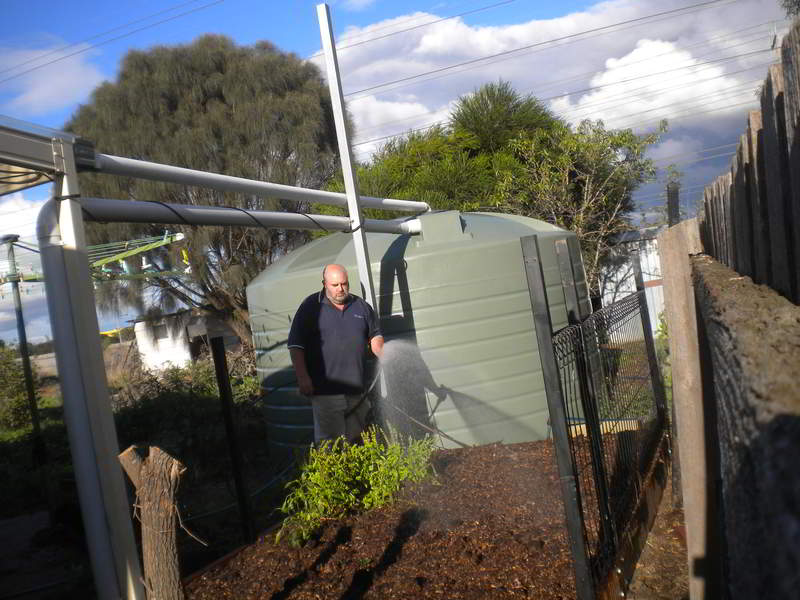
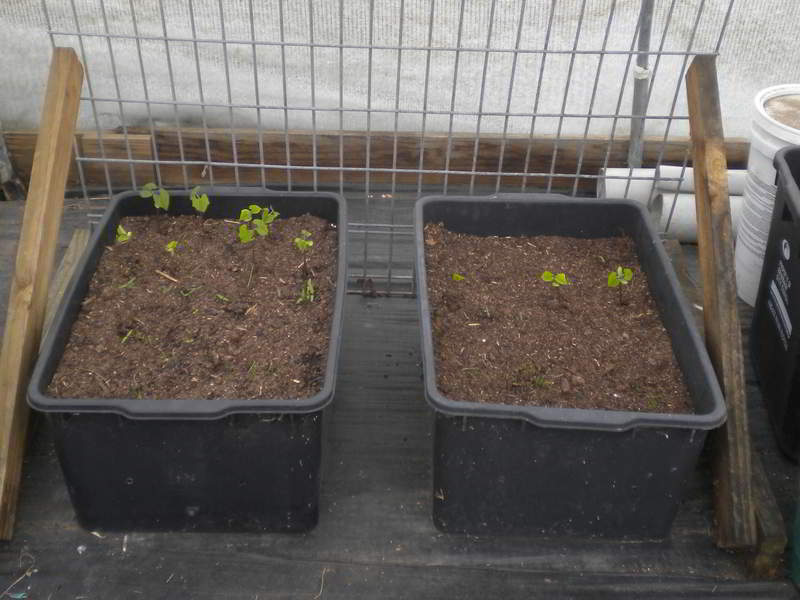
I have since re-attached the vine trellis, planted out some peas, broad beans and garlic and they are doing well. I’ll post some more pictures in a few weeks.

So now I have a much larger garden bed complete with built in climbing frame and provision for turning it into a greenhouse in the future.

It was supposed a one day or casual weekend project but it morphed into quite a large project that ended up taking several days over three weekends to complete but I am very happy with the result.

Got any projects planned for your backyard?

What do you think of this post?
  • Awesome (3)
  • Interesting (2)
  • Useful (2)
May 15

Growing in the Greenhouse

Well, after cleaning up and rearranging the greenhouse, building the wicking tubs and planting the seeds it was just left to wait and see how well the seeds would germinate.

We have been lucky to have some mild weather to help start them off and they seem to be doing very well. Beans at the back, cherry tomatoes in the middle and spring onions at the front.

greenhouse-seedlings-01I also took the opportunity to rescue some pot-bound pups of various grasses etc. from friend’s severely neglected pot-plants which I will grow a little bigger before planting out in the front yard. I couldn’t even tell where I removed them from the original pots they were so overgrown. They also seem to be doing well.

repotting-02 repotting-01


Now that I have made a good start in the greenhouse it’s time to get serious and get a lot of winter greenhouse planting done and seedlings started for my upcoming permablitz in August.

“Permablitz?”, you ask! Aaah! That’s a whole other exciting story and the subject of a complete post of it’s own, coming soon.


What do you think of this post?
  • Awesome (0)
  • Interesting (3)
  • Useful (3)