
Well, the automatic watering system I built a couple of years ago finally bit the dust as the plastic hardened and cracked after being exposed to daylight. It was a good system, but it was always meant to be an interim solution until I fired up and built the proper, you beaut, whizz-bang one.
The system I had in mind would use an external tank and a float valve to control the level in a mini-trough
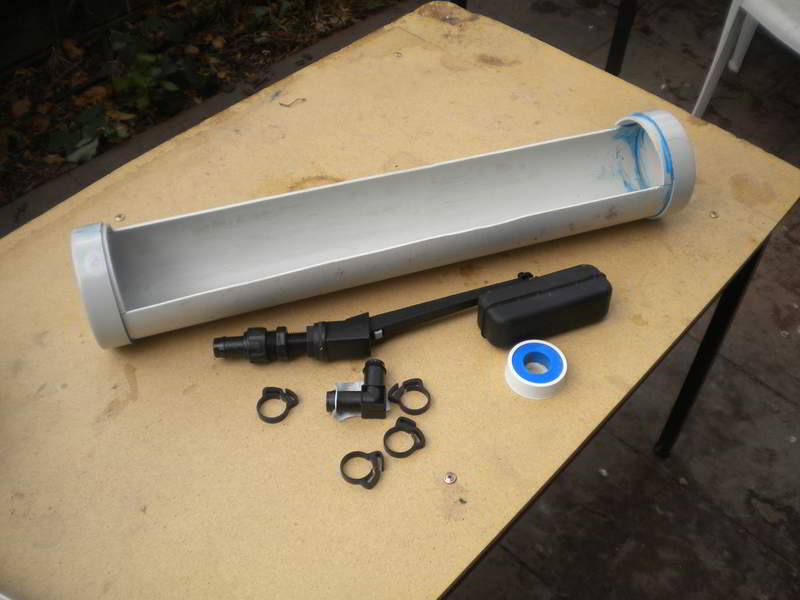
Using mostly parts I had lying around, except for the float-valve, hose-connector and end caps for the section of storm-water pipe, I commenced construction.
I wanted the tank to be on a stand to provide small amount of positive pressure for the float valve. I had some old bits of scrap length of metal fence post offcuts so I welded up a table and topped it with some old pieces of treated pine (I figure using treated pine waste increases it’s useful life and prevents it from going to landfill, for a while at least).
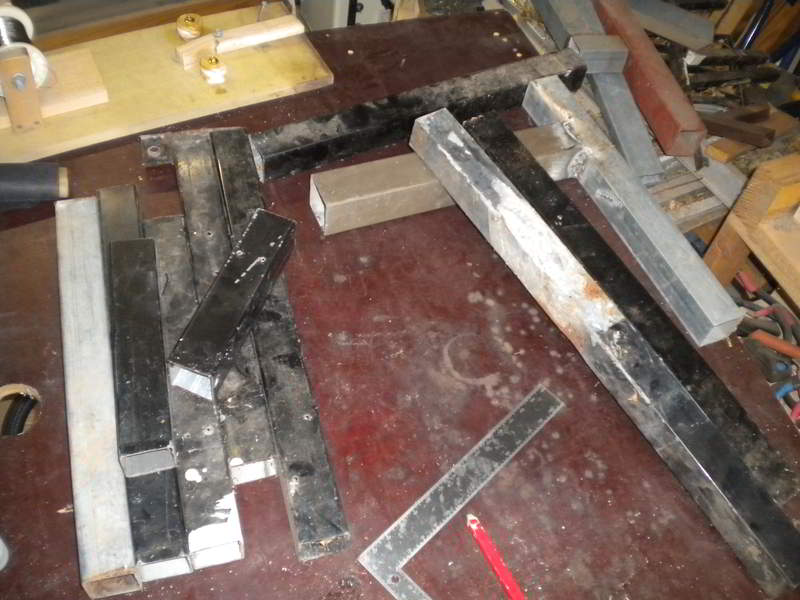
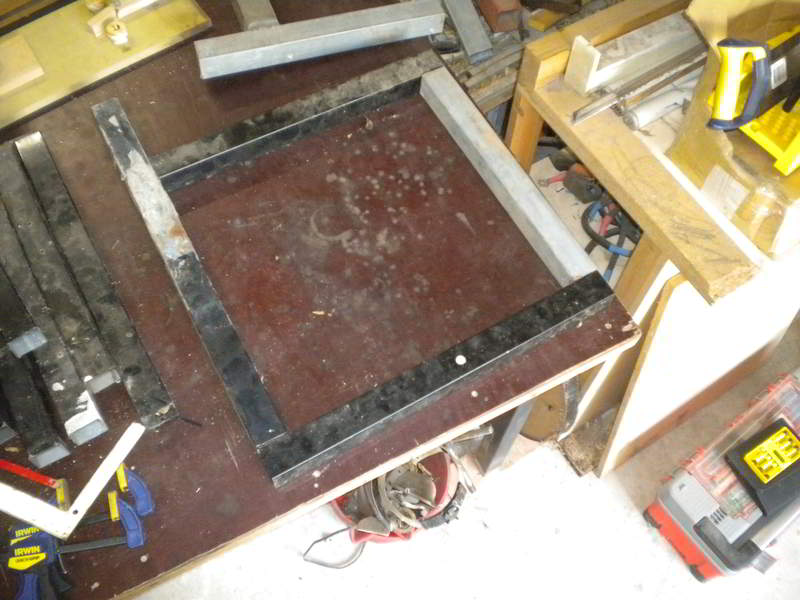
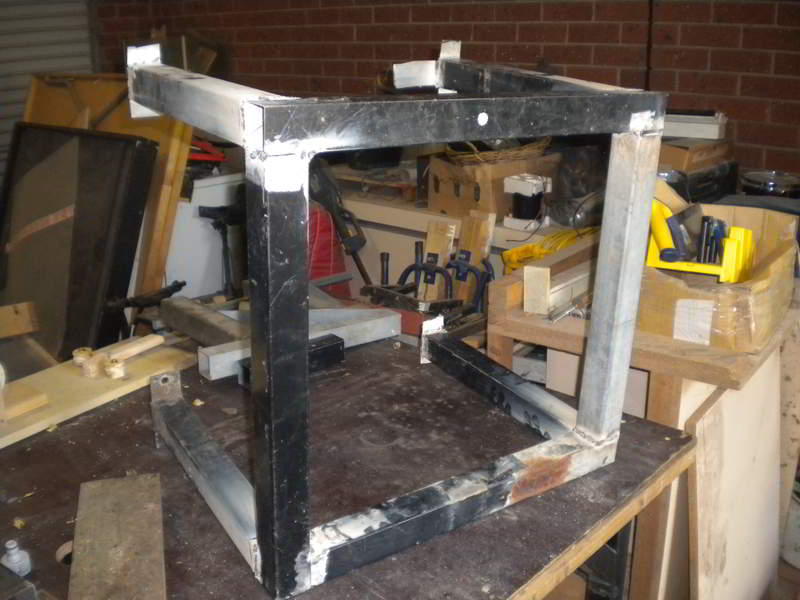
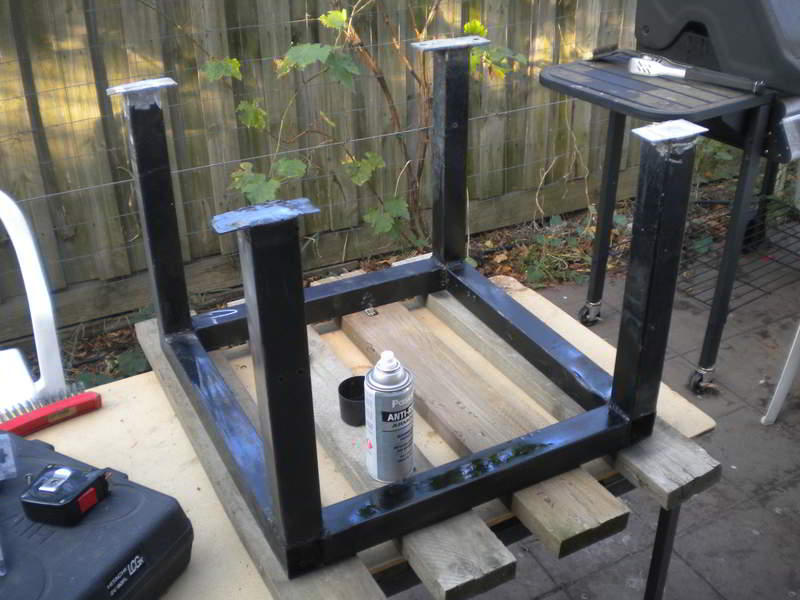


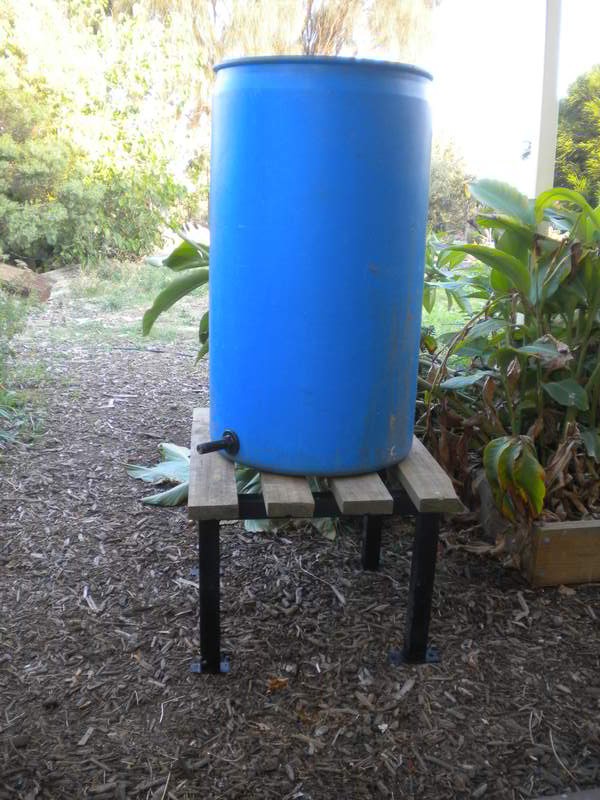
It is seriously over-specified and took a lot longer to weld up than I anticipated but that’s what I had lying around.
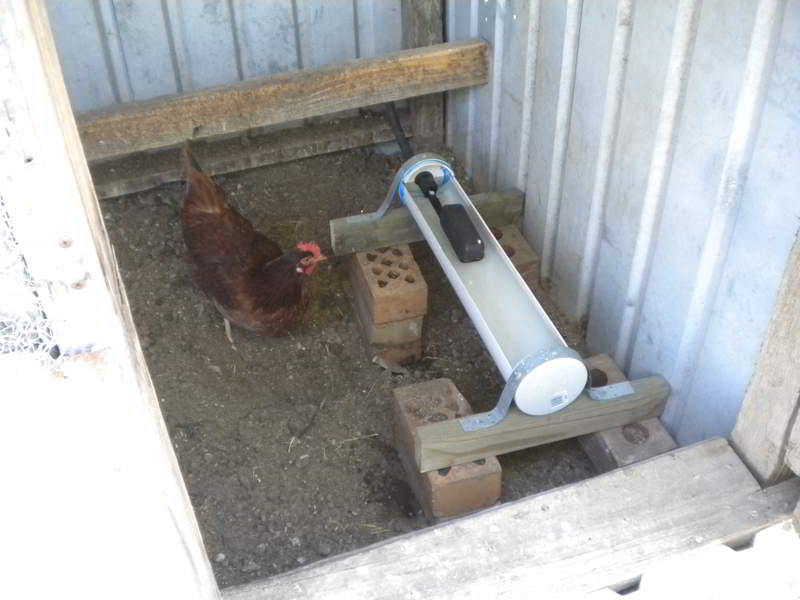
The watering trough was considerably easier to put together, although I spent ages trying to decide how to provide a solid base. The trough itself was just a short section of 100mm plastic pipe with two end caps glued on and a section cut out along the length.
After that, it was just a matter of filling it with water and playing around with the location of the float valve to make sure it didn’t overflow. Once the location was determined a hole was cut into the end of the trough and the float valve was fitted.
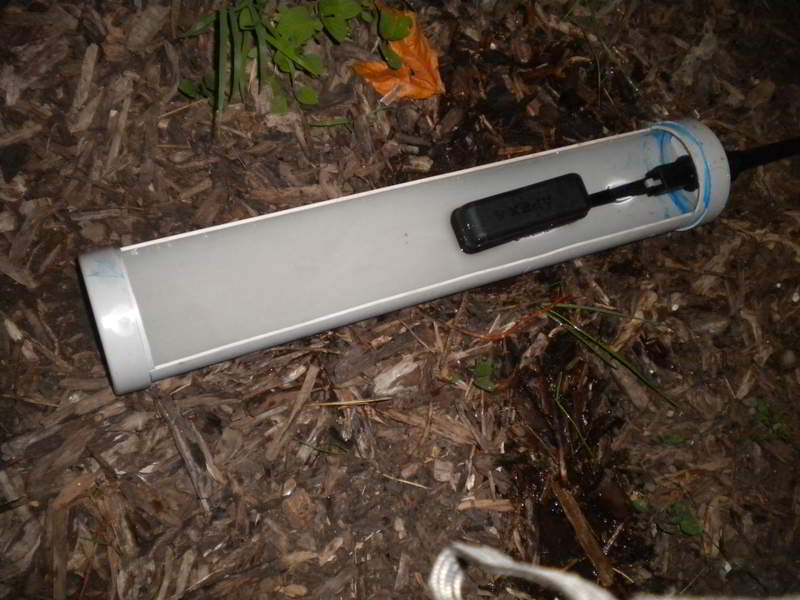
One last final test to make sure everything was working correctly before doing the final assembly. Because it was getting a bit late I left it set up overnight and rechecked it in the morning and added the feet before installing it in the chook shed.
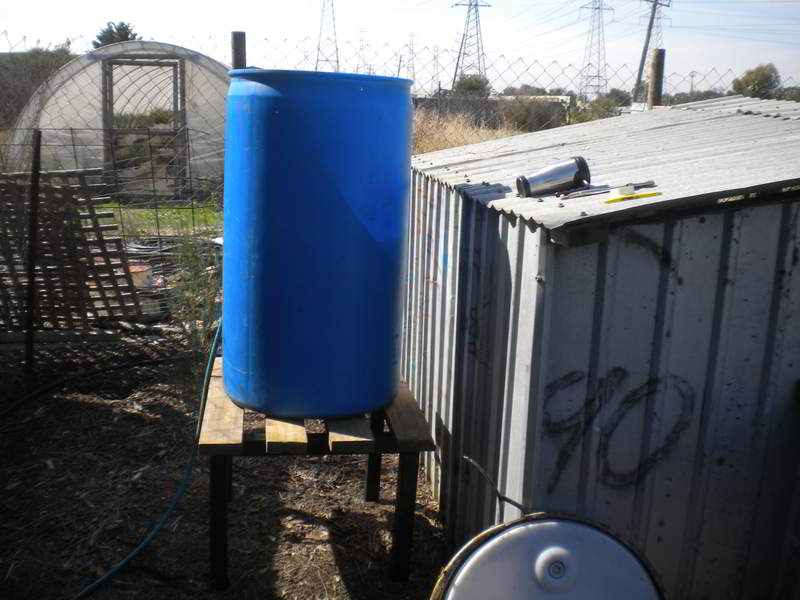
The next morning (well only just, as I had a leisurely start to the day) I moved all the pieces into place and installed it in the shed. It sounds easy when you say it fast like that but in reality, it wasn’t much more difficult. There was a bit of fiddling, cutting a hole in the wall, getting the hose lengths right, making sure the trough was secure enough etc. but it all came together quite well.

Well, not quite!
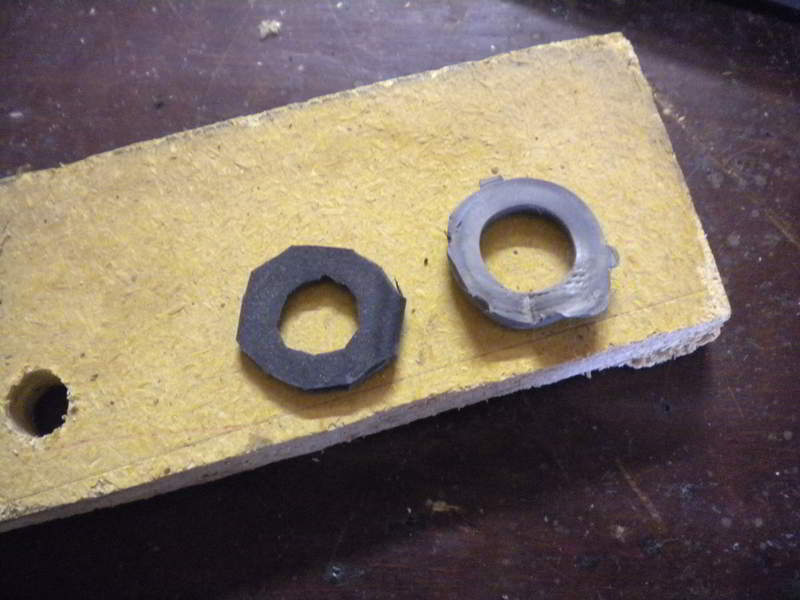
There was a leak at the connection on the tank. I thought I had sealed everything and I had used teflon tape etc. However it turned out that the rubber seal was damaged. I quickly cut a replacement from an old bike tire inner-tube, fitted it and voilà, perfect!
All in all it has been a very satisfying exercise, although the extra time, effort in welding, grinding and cutting somewhat offset the use of the free metal offcuts I used for the tank. The overall price, only for the parts I had to purchase, was about $50. If I had to purchase all the parts it would have been considerably more, but that’s the point really, re-using “waste” items or found objects to provide a useful function. The watering system should provide many years of fault free service and it will certainly be a lot easier to provide water to the chooks.