May 07

Pumpkin Seeds

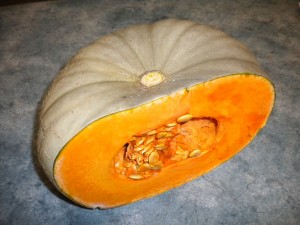
Remember that pumpkin I created from apples (ok, I swapped it for some apples, quince puree and cucmbers). Well, we have already turned it into roast pumpkin, stew, steamed pumpkin and shortly, soup. Amazing!

But Wait! There’s More! . . . Now we’re going to turn it into more pumpkins!

“But how?”, you ask. “By saving the seeds!”, we triumphantly reply, “and planting them next season!”.

We decided to keep the seeds because we liked this pumpkin so much. Saving seeds is a great idea for a number of reasons including growing more of what you like, selecting plants that are suited to your particular climate and preserving heritage or unusual species. It’s also cheaper and very satisfying to save and grow from your own seeds. It not hard, and doesn’t take much effort, although some seeds are a bit harder to harvest, clean and store than others and some are very hard to germinate, particulalry some natives.

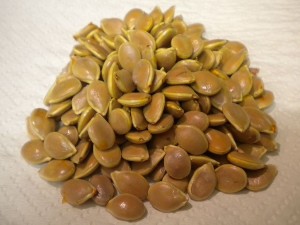
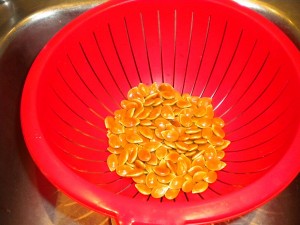
Saving pumpkin seeds is very easy, different people have different techniques and this is the one we used. First we scooped out the seeds and pulled them from the stringy flesh that holds them in place. I find the easiest way to remove the seeds from the pumpkin is with a tablespoon. Once they are roughly cleaned, soak them in a bowl of water for a day or two to loosen the remain pulp around them and give them another wash in a colander and leave to drain.


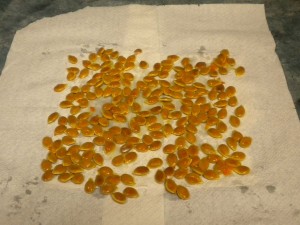
When they are drained spread them out on a bit of kitchen paper or cloth to dry.

Once they’re dry carefully lift them from the paper or cloth. They might stick a bit as they dry out but they should be able to be lifted reasonably easily.

They can then be stored in a jar in a cool dark place until ready to be planted.

We got about 250 seeds from this one pumpkin so if we planted them all and 50% germinated and they all produced, say, four pumpkins that’s 500 pumpkins! Not bad for a couple of apples, quince and cucumber!

Roll on summer – I want some of them, there pumpkins!

What do you think of this post?
  • Awesome (0)
  • Interesting (3)
  • Useful (2)
May 06

Buzz Buzz Buzz

Yep! You guessed it! We have some bees!

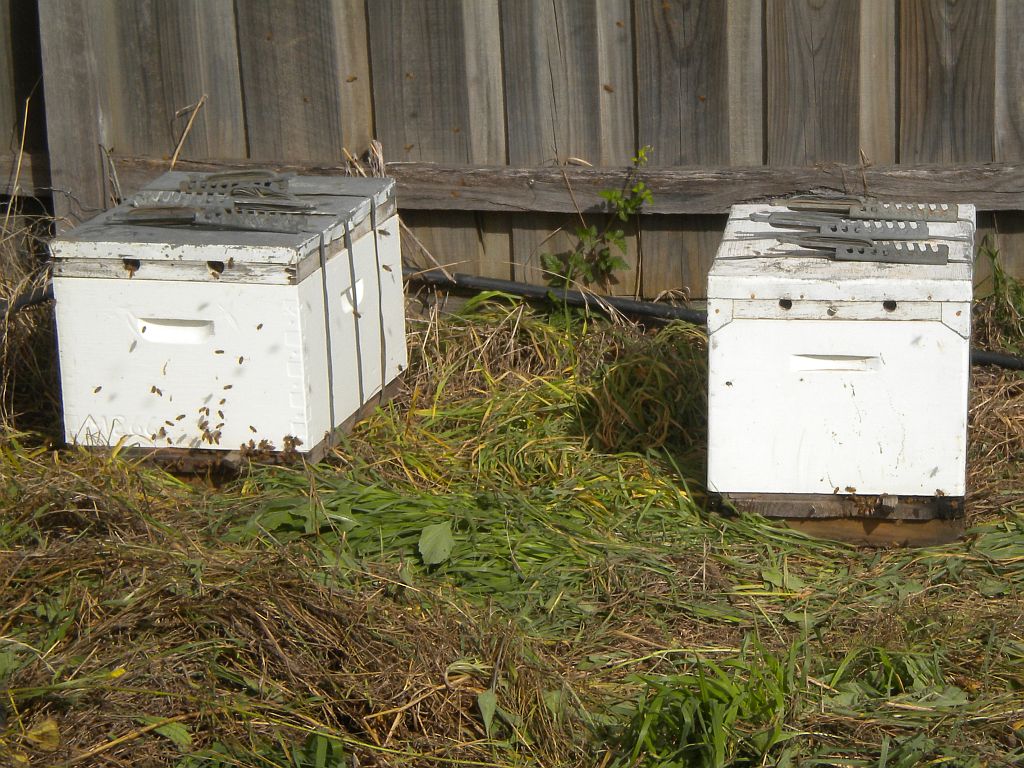
Well, they’re not quite our bees but we will be getting some soon. A friend of mine, Peter, keeps bees and also gives training courses on bee-keeping. We were chatting a while ago and I said I was interested in getting a beehive and had been for a while and would like some advice. Peter was more than happy to help and asked if I wanted to babysit some hives over winter to see if I was comfortable having them around. “Great”, I said, “I’d be more than happy to do that”.

So we agreed that he would bring some hives down from the country as they are struggling with lack of food where they are and he would come over and show me the basics. In a month or so he would help me get all the gear together to either make or buy a hive of my own and get a colony started.

It’s going to be so awesome as I have wanted to do this for a long time. I quickly cleared a space protected from the southerly winds and warmed by the morning sun. I tell you what, those railway sleepers I had to move seemed to be a lot heavier than when I moved them last time.

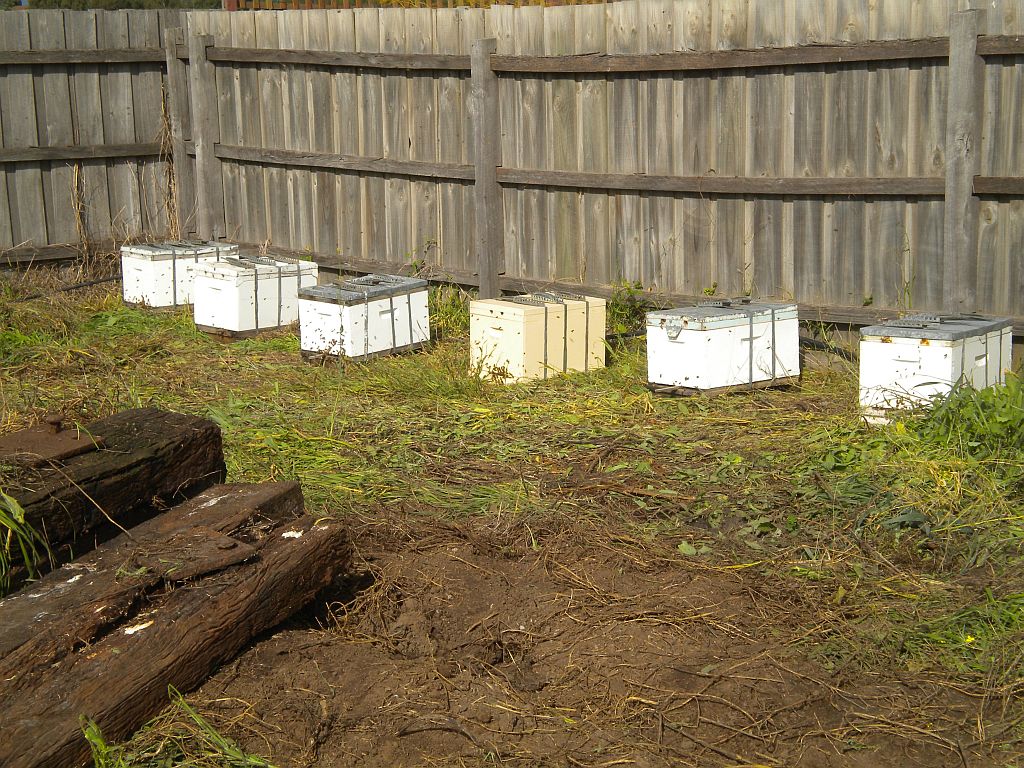
Anyway, the bee’s arrived last night and the hives were set up and then opened in the dark so the bees wouldn’t get agitated. After a few minutes we could see the bees in the moonlight, milling around the entrances.

Today, I checked, from a respectable distance and I could hear the buzzing and see the bees acclimatising to their new surroundings. At first it didn’t seem like they were wandering too far but, as I took these photos, one collided into the back of my head and when I looked around they were flying all around me going to and from the hives, collecting pollen and nectar. A bit later, I noticed they were in amongst the broad beans, the bottle-brush and the other flowers in the garden, Excellent!

I’m really excited about finally getting some bees and can’t wait to set up my own hives.

This is going to BEE really good! (sorry, but I had to put at least one really bad pun in the post)

What do you think of this post?
  • Awesome (5)
  • Interesting (3)
  • Useful (0)
May 02

Wee on a Tree

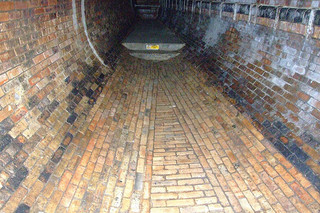
One of the great engineering acheivements of the 19th century was construction of the underground sewerage systems in heavily populated cities in Europe and the “New World”. At the time they were severely polluted and disease was rife.

The construction of the sewers provided immediate and substantial health benefits to the people in the those cities. They were one of the main factors that wiped out serious water borne diseases that often reached plague status. Over time these systems were rolled out into smaller towns and villages and regulations were enhanced and enforced until they almost had a life of their own.

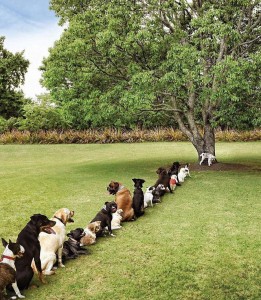
We now live in cities and rural communities where these rules and regulations are becoming counterproductive and are actually preventing us from implementing new techniques and practices that have positive environmental benefits without endangering our health. From composting toilets to proposals for turning human manure into renewable energy, these ideas are met with stiff resistance and sometimes angry responses from authorities around the world. To be fair, local authorities are very risk averse with good reason as they are the one’s who wear the pain if things go wrong but there needs to be a way to move forward. We don’t want to be the six gorillas. Well, I found a way to do my bit, as it were.


Wee on a Tree!

I remember as a kid growing up on farms siding up to the nearest tree or bush in the paddock to answer nature’s call. I also remember getting into loads of trouble when we moved the suburbs when I was five, for doing just that in the front yard.

Boy, was I confused!


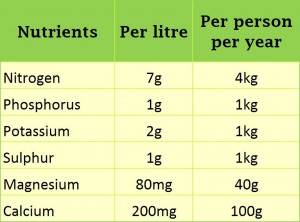
Approximate Nutrient Content of Urine


Now, as it happens the majority of the nutrients are in the urine and it can be considered liquid fertiliser. So wee, as it were, is the thing for the garden rather then the… ahem… rest of the business. The table shows shows the nutrient content of urine.

That’s a lot of NPK+ fertiliser going to waste, Literally!


People in many parts of the world store and use this wonderful plant food to great effect. I’m not prepared to go quite that far (yet) but I’m more than happy to wander out in the evening and pick a different tree and not just the proverbial lemon. It’s important to vary the location because, even though it is a relatively dilute fertiliser it can build up if applied continually to the same spot. You should also hold off, so to speak, if you are sick as some pathogens can be present even though usually it is pathogen free.

Another benefit is the water saving as each time you fertilise a tree you save between 6 and 12 litres of water depending on the toilet and choice of flush. Win-Win!

There are loads of links on the web about this and related topics, but one I found quite informative is

https://www.uni-hohenheim.de/respta/poster/urine_fert.pdf

So go on, do your bit and  Wee on a Tree!

What do you think of this post?
  • Awesome (12)
  • Interesting (11)
  • Useful (11)
Apr 28

Turning Apples into Pumpkins

“Magic?”, you might ask. Not quite.

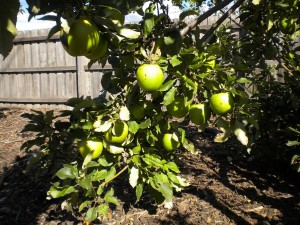
As the weather slows down and the summer garden gives way to the winter crops, we slowly go around and collect the last of the summer fruit and veg. We still have apples on the granny smith tree and a few struggling tomatoes and cucumbers but we are picking the last of these.


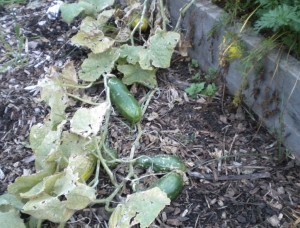
The cucumbers in particular ended up being a pretty good crop considering I planted the last lot quite late and we’ve had a glut over the last few weeks.

One of things we didn’t get was pumpkins. The few that I planted were ripped up by the birds when they were seedlings.

However, last week my mum rang up and said she had been given a couple of pumpkins from the guy across the road and asked if I wanted one. “You beauty”, I said, “how about I swap you a couple of cucumbers, some apples and a jar of freshly made quince and apple sauce for the pumpkin?” “What time can you get here?”, she replied (She loves quince and apple).

A quick trip (and an extended 3 hour chat over coffee) later and I was the proud owner of a delicious big pumpkin and Mum was going, “ooh”, and ,”aah”, over her jar of quince and apple. Sharing is such a wonderful thing!

We’ve already had two meals from the pumpkin and, on the weekend, it’s pumpkin soup time! YUM!

I think I might try saving the seeds as well.

What do you think of this post?
  • Awesome (0)
  • Interesting (3)
  • Useful (1)
Apr 26

Brrrr! Time for Some DIY Double Glazing


When we were building our house many years ago we did pretty well. The house was well constructed and we made serious attempts to improve it’s thermal performance and achieved pretty good performance by the standards of the day. A lot of people at the time kept saying we were crazy and wasting our money. “Why are you putting in all that insulation?”, “Solar hot water? what for?” etc. etc. Fast forward to today and these things are virtually compulsary if you want to meet the (still modest) building requirements in Australia. However, we didn’t get it all right.

Although the performance of the house is good, it was still getting a bit too hot in summer and too cold in winter without the heater being on far longer than I wanted. The summer performance has been improved significantly by the addition of a verandah and climbing vines on the north face (the side towards the equator in the sunny old land of Oz) and some experiments in window shading (we might discuss that in more detail in another post) while the winter perfomance has steadily been improving with the addition of DIY double glazing.

Thermal Image shows heat radiating through windows


Two things I wish we had done when we built were, edge insulate the slab, especially since we have hydronic slab heating, and installed double glazing. In the case of the double glazing it should have been a “no-brainer” but double glazing at the time was horrendously expensive (it has since come way down in price) and I thought it wouldn’t be worth it. Boy, what a mistake! We probably would have saved more than the additional price by now in reduced heating costs. Same with the slab insulation. Ah, well! Live and learn.


Two days ago the weather turned from a balmy mid-high 20’s Celsius down to single digits overnight. It took another day or two before the jumpers and long sleeves weren’t enough and it was time to turn on the heater. It was also past time to fix up and install the rest of the DIY double glazing.
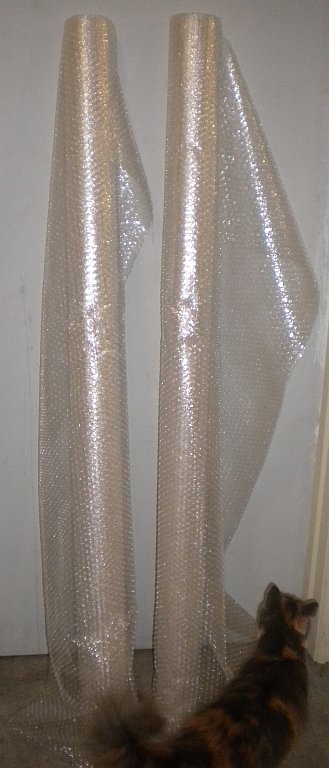
Bubble wrap, cut to length, being inspected

On most of the windows in the front of the house and in the bedrooms we have thick curtains and pelmets and these do a great job of minimising heat flow through the windows, but they could be improved. At the back of the house we only have vertical blinds which are great at screening, but rubbish at keeping the heat in (or out). I’ve tried a couple of DIY double glazing solutions and some commercial solutions but I wanted something fast, cheap and easy for the majority of the windows. It had to let in the light but I wasn’t too concerned about the view (from those windows at least). Something tugged at corner of my mind and suddenly “POP” or rather “POP, POP, POP” there it was…, “Bubble Wrap!

I did some measuments and a quick search on the internet (ok, it wasn’t all that quick) and ordered a 50 meter roll of bubble wrap that was wide enough to cover the windows. It was a bit more than I needed, but I have some other cunning plans for the rest, and it was a reasonable price (under $50 delivered). Armed with a hobby knife and some tape I cut lengths and taped them to some window frames. One of the things you notice when you stand near a window on a cold day is the cold air running past your feet. This happens because the air against the window cools down, falls to the ground and is replaced by warm air which repeats the cycle forcing that cold air past your feet. So a good way to determine if you have improved the thermal performance is to get near the window and check how much that cold air flow has been reduced. In my case I was more than pleasantly surprised. So simple, so easy, so effective, until the next day when the tape and the bubble wrap started coming away from the window. Bugger! I would have to find a better way.
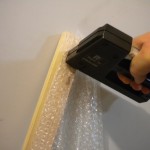
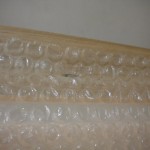
I fiddled around with a couple of alternatives and, in the end, I used some 42mm x 19mm pine, (partly because I already had some and partly because it was a conventient size for the window frames) cut to length and stapled the length of bubble wrap along it.


I then screwed in a support bracket on one side of the frame, used the lip on the sliding window as the other support and simply hung the bubble wrap like a curtain up against the frame. Provided you don’t get in there and move it around too much it stays against the frame and provides the air lock necessary to insulate the window. It works a treat. Total cost per window was probably around eight dollars not counting the extra bubble wrap left over for which I have another use anyway.

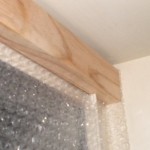
Now, it looks a bit odd, having bubble wrap hanging on the window and, although it lets in the light, you do lose the view. However, it does become clearer over time. It’s also not immune to small animals and children but it works surprisingly well. If you want something that is a bit closer to commercial double glazing, then it costs a bit more and takes more effort. But that will have to be the subject of a whole other post.
What do you think of this post?
  • Awesome (29)
  • Interesting (20)
  • Useful (22)