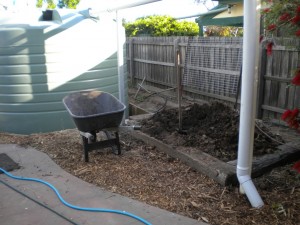
Oh, remember that garden bed I mentioned in the previous post, you know that one that also featured in a a very early post (here)?
Yes, that’s the one. Well I did a bit of work on it last month and, of course, there was a bit of scope creep, and the simple cleanup turned into a major refit!
It all started when I decided that I wanted to redo the borders as part of the preparation and general cleanup prior to our Permablitz in August (Oh, have I mentioned we’re having a permablitz? 😉 ). I will provide some more detail closer to the date but you can also find all the details at
http://www.permablitz.net/calendar/icalrepeat.detail/2014/08/30/525/-/permablitz-159-st-albans
Anyway, I started with a simple idea. Remove the existing rotting red-gum sleepers and replace them with newer bits. Sounds simple, right? and it would’ve been, but…I got to thinking (oh, oh).
Since the original bed was built, I have installed a grapevine trellis running behind it with some mesh fencing and steel posts for support. Wouldn’t it be nice if I could use these posts as the corner posts for the sleepers together with the posts at the front that support the verandah and storm water pipes to the tank.
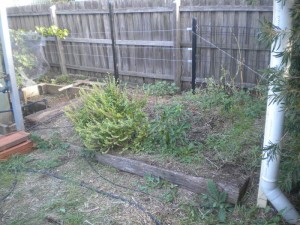
But, of course, the existing posts were in the wrong spot to make it work properly so they would have to come out and be repositioned. Which meant dismantling the fence and unhooking the trellis wire supports for the grapevine.
I would also need to place a new post in the other corner to complete the process.
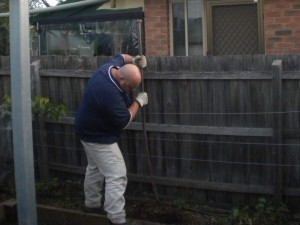
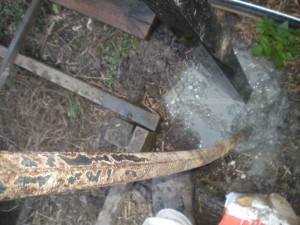
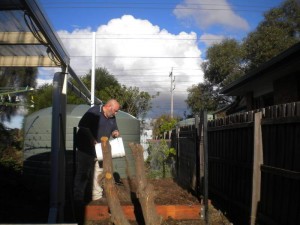
So there was nothing for it but to start digging!
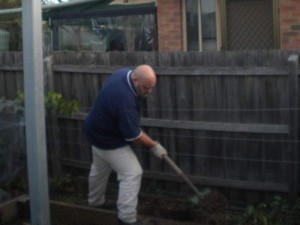
And more Digging!
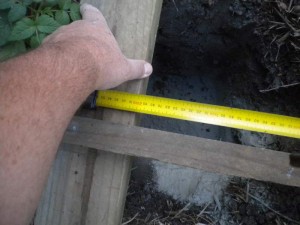
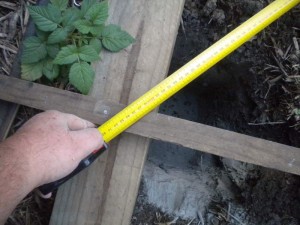
Now, there was a bit a planning involved before all that hard work. For example, making sure that the bed lined up with the trellis and support fencing, and was positioned away from the boundary fence which is overdue for replacement. The idea was to make the mesh fence double as a brace for the trellis and a climbing frame for plantings in the bed. It was also important that everything was square.
So how do you make sure that everything is square. Good old Pythagoras provided the answer a few thousand years ago. The diagram shows some of the measurements used to make sure the posts were going into the right place. The second set of measurements with the dotted lines show the results of scaling up the classic 3-4-5 triangle to get a right angle (90 degrees) as a check.
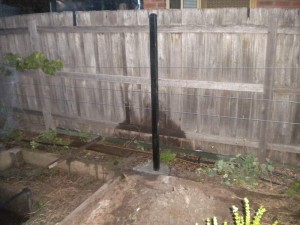
I decided to concrete these posts in place because I needed them to be solid. The trellis wires are under tension and the original posts had moved a little, despite the bracing, and it was also going to be used as a climbing frame. Suddenly, the next bit of scope creep appeared! If I made the posts a bit longer and put some horizontal bracing between the four corners, I could drape plastic film over the whole lot and make a temporary greenhouse for winter and extend the growing season in the new bed!
Damn! now I had to bolt some extensions on the bottom of the second hand posts to extend their height for the greenhouse idea. Oh well! it’ll be worth it 🙂
At this point a friend said to me, “why are you mucking around with the grinder making brackets from old bits of post scraps when they’re so cheap at the hardware store?”
To be honest, had I realised the work involved, I may have done just that. However, I enjoyed making them and I was able to re-purpose some material that would have ended up in the scrap bin rather than buying new material.
So I cut up the brackets, drilled the holes for the mounting screws and sprayed them with anti-rust paint.
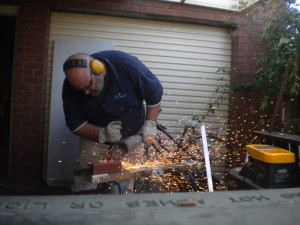
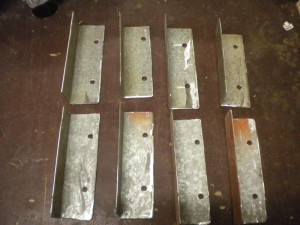
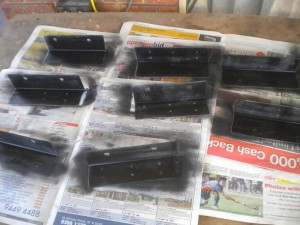
Then it was just a matter of bolting the brackets to the posts at the right height and bolting the sleepers to the brackets. Easy 🙂
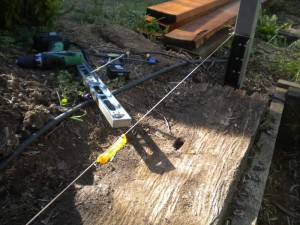
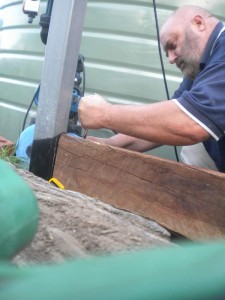
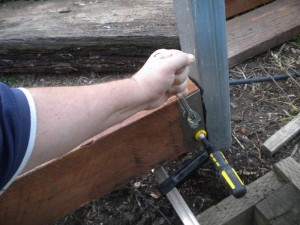
Now at this point, with some of the sleepers in place, I needed to put in an extension support because the sleepers were not long enough for the garden bed. I had already done this at the rear of the bed with a post because I wanted the mesh fence for the climbing frame but what was the best way to do this at the front of the bed, and then…more scope creep!!
What about putting another post at the front and extending it later to the top support for the pipe to the tank? That way I could install a door and make the greenhouse more permanent. No problem!
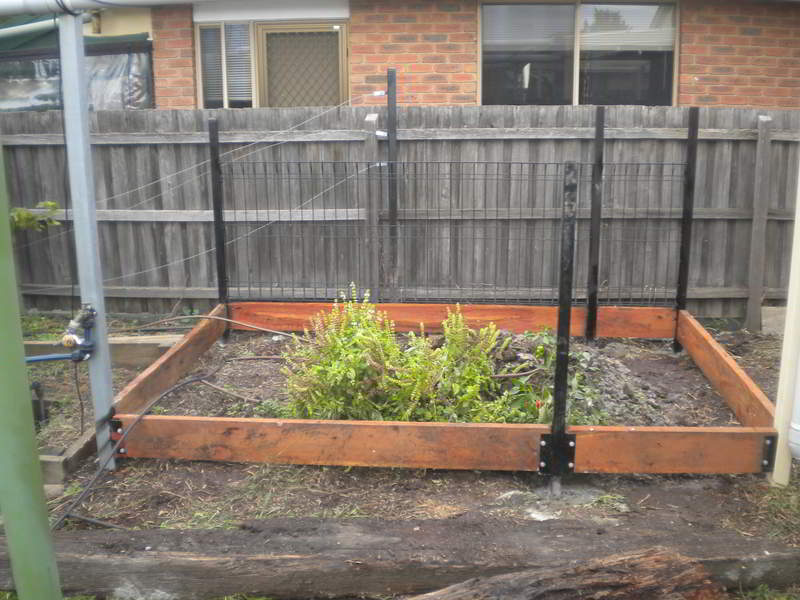
So in went another post making a 900mm opening and the remainder of the sleepers.
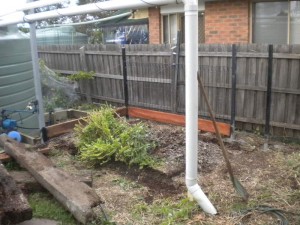
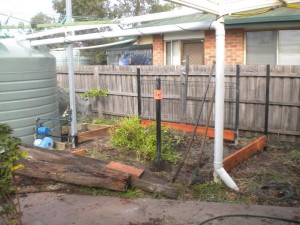
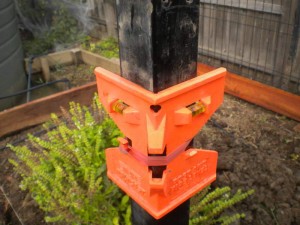
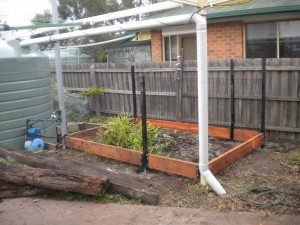
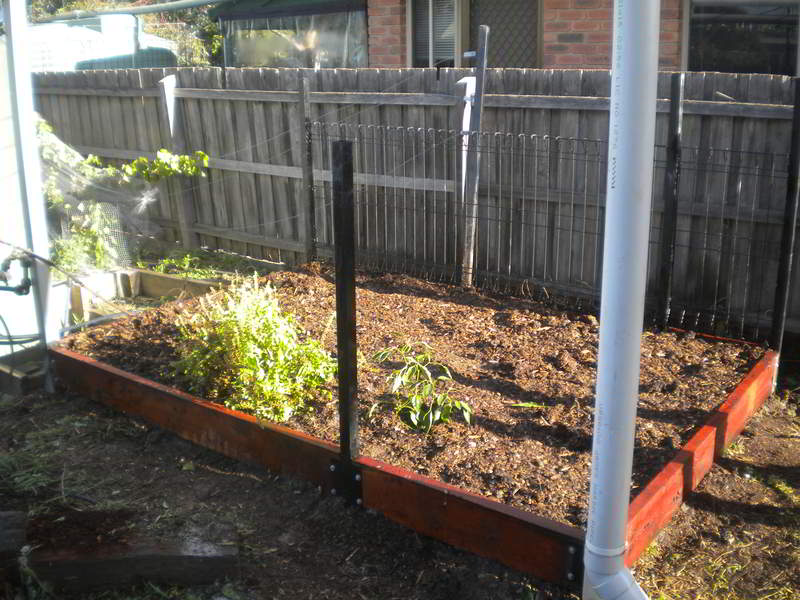
The finished Product Tada!!
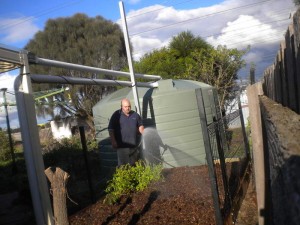
“But what about the soil?”, you ask? “Oh yeah!” Ok, let’s get some soil and chicken manure into the bed.
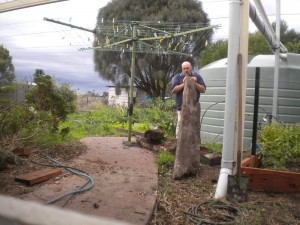
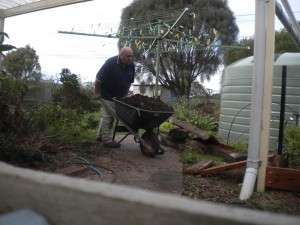
That’s Better !! Several barrow loads of composted tree pruning and chicken manure later and it’s finished.
Even the basil and capsicum survived the rebuild.
I have since re-attached the vine trellis, planted out some peas, broad beans and garlic and they are doing well. I’ll post some more pictures in a few weeks.
So now I have a much larger garden bed complete with built in climbing frame and provision for turning it into a greenhouse in the future.
It was supposed a one day or casual weekend project but it morphed into quite a large project that ended up taking several days over three weekends to complete but I am very happy with the result.
Got any projects planned for your backyard?

Sounds like my weekend just past. A friend came up and said he had a few hours free and did we have any work for him. I mentioned casually that I wanted to move some of our collection of crappy old roof tiles to the veggie bed to turn into paving and he set to work. An area I had hoped to pave in about 6 months is done.:D I couldn’t stop there though and once the mate had gone I roped my husband into helping me pull out our old tyre garden (we used tyres to edge our chook pen to keep the anti-fox dig wire in pplace rather than digging a 1-2′ trench all around the pen) and then I spent time digging out the nearest raised bed, moving the soil to a box bed and then into the place vacated by the tyre bed. The raised bed fram then moved to become a new raised bed holding down the chook wire. I’ve scored 2 beds from this and the veggie patch reno is ahead of schedule by 6 months! Stoked. I also emptied a trailer of old hay and burned hay from a friends farm and shovelled the trailer full of horse manure too. I ache like all hell today but geez it was well worth it. The whole project evolved as I worked too, much like yours. Thinking in the garden when one is renovating is always a dangerous pass time. Dangerous to sitting down time anyway. 😉
Yeah I enjoyed reading about your full on weekend. Sometime I get tired just reading your blog. You seem to be on the go all the time 🙂
Ive got to follow up on a free source of hay and bedding straw near my place and start stockpiling for the permablitz
You and Rabid make me feel like a sloth! I am going to claim the 5th (the 5th being that I live in Tasmania in inhospitable conditions…) as my excuse.
Ha! I have been known to spend huge amounts of time being a sloth 🙂 and then suddenly, I get motivated to go crazy working before sinking back down and relaxing again.