Apr 20

Making up Some Pseudo Wicking Tubs

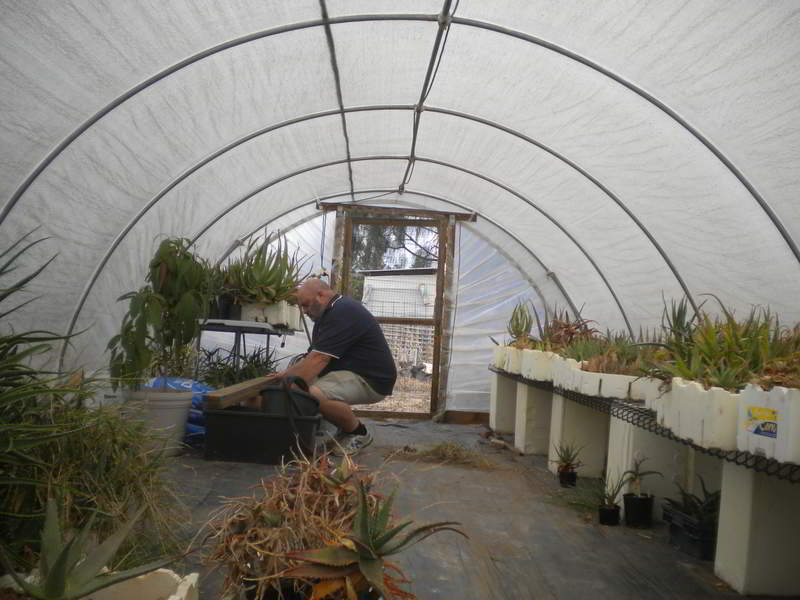
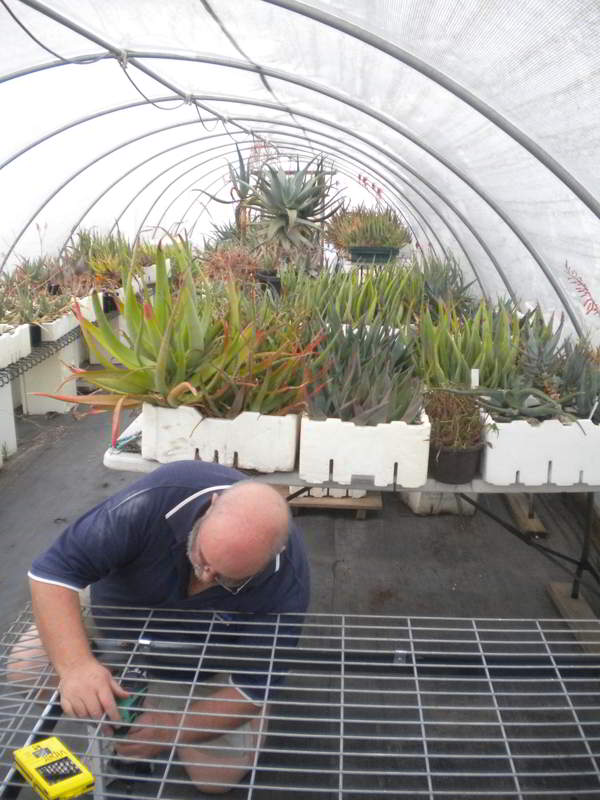
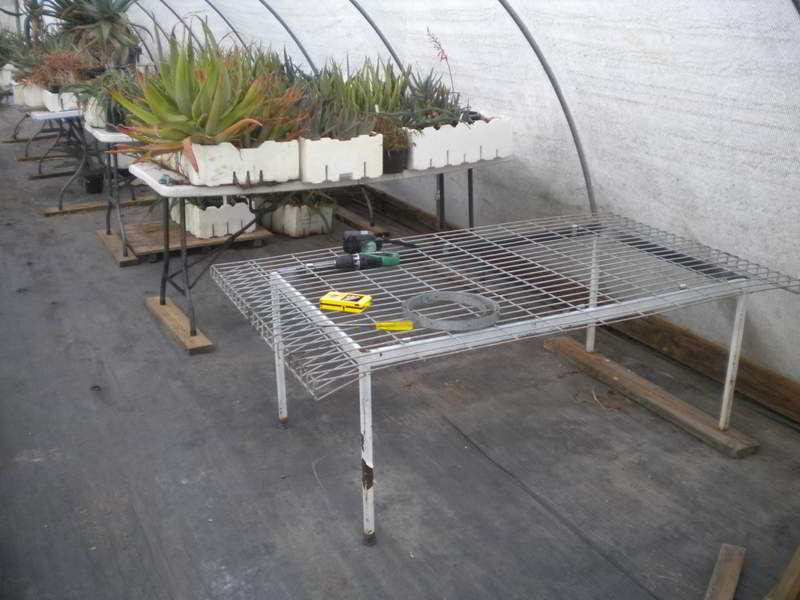
Now that I have the Greenhouse re-arranged it’s time to get some growing happening.

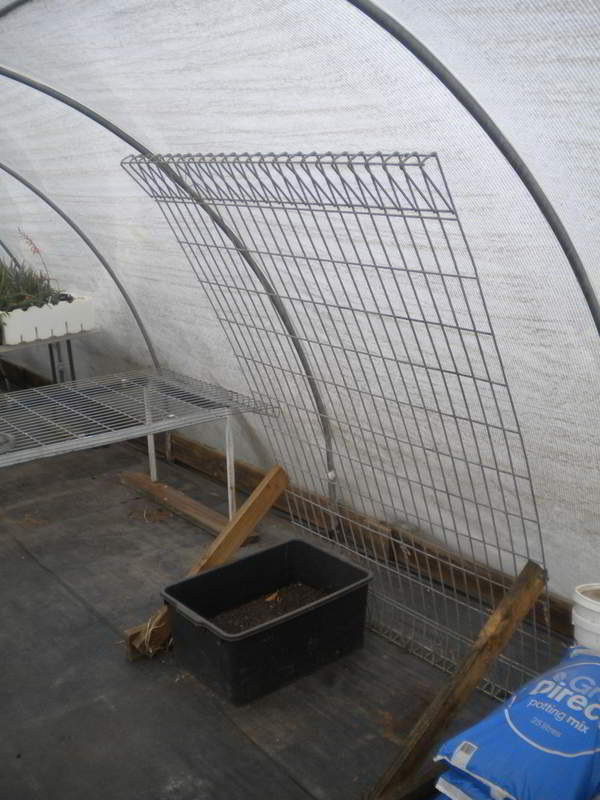
The first things I wanted to put in place were some tomatoes and beans on the climbing frames. I bought several bags of “Tomato and Veggie” potting mix on special and decided to use this in some tubs.

Last time I used the tubs I had some drainage holes near the bottom but the tubs kept drying out too quickly. I thought about constructing some proper wicking beds using the tubs but I wanted to use what I had on hand and didn’t really want to go through the extra effort of assembling the wicking bed. I needed a short-cut, a work-around, another way. So this is what I did.

I reasoned that, if the bottom of the potting mix was kept saturated and the plants were relatively shallow rooted, then they would have the advantage of the water wicking up from the bottom and also get oxygen because the top would not be saturated. Hopefully the potting mix a t the bottom would stay in good condition for the time it took to harvest the crops. Then it could be remixed or used as compost on the garden. It sounded reasonable to me anyway 🙂

greenhouse-tubs-01 greenhouse-tubs-02

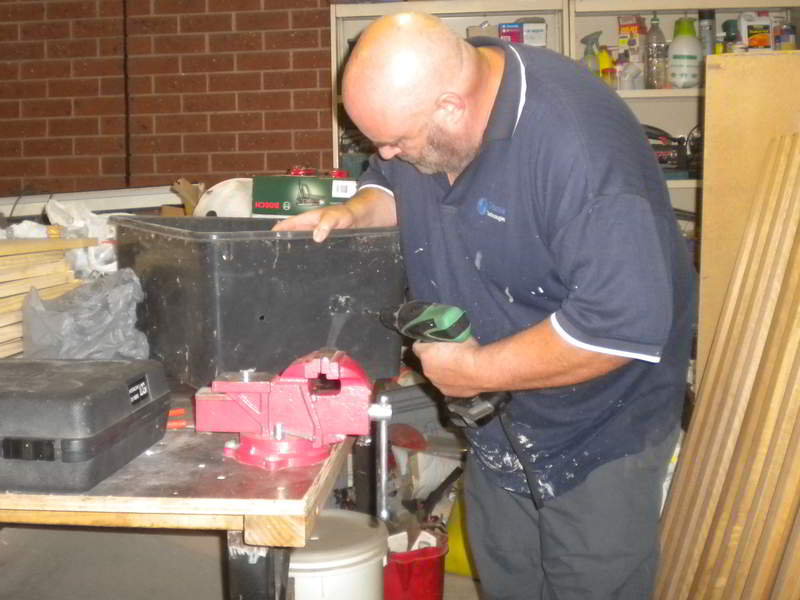
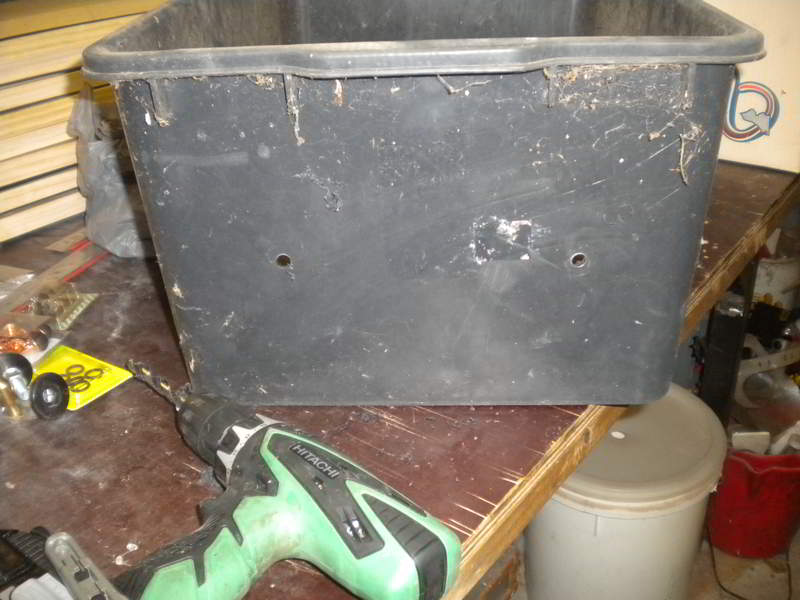
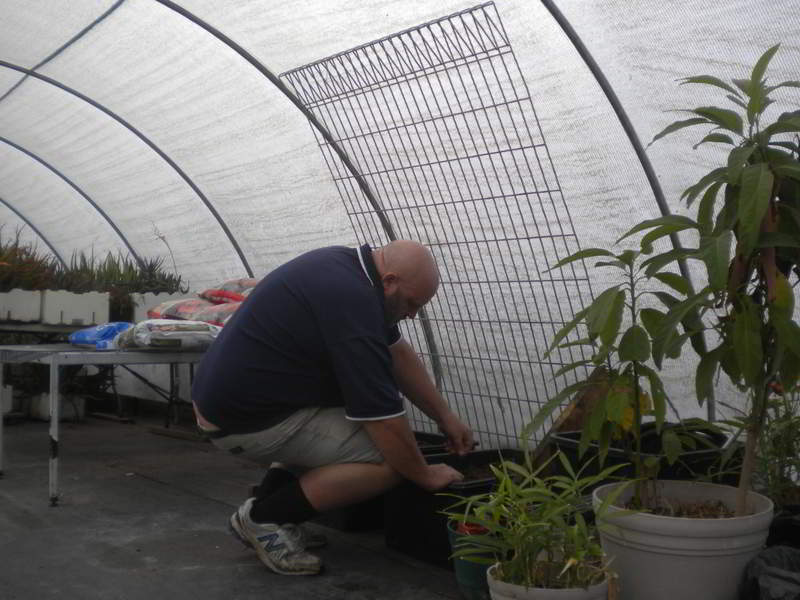
So, it was just a matter of drilling some drainage holes relatively high on the tub at both ends to keep the additional water in the tub. After much gnashing of teeth and procrastinating, I settled on a little over 125mm from the bottom. Mainly because it was less than half way up the tub and also about one hand width, including thumb, which made it easy to measure.

greenhouse-tubs-03


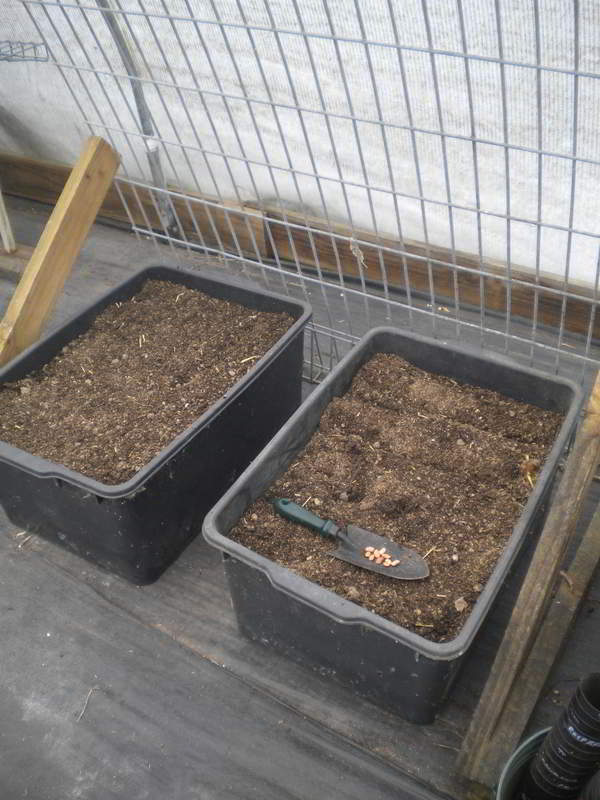
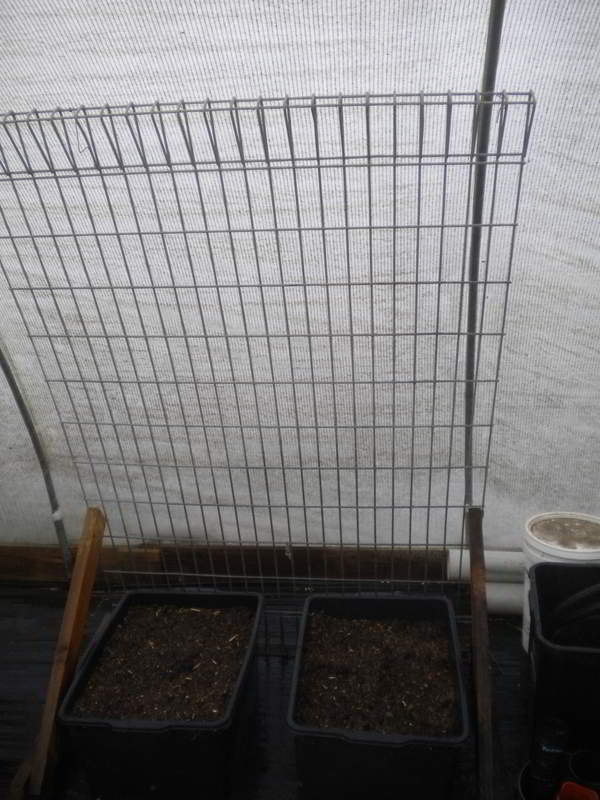
Once the holes were drilled in both end of both tubs, it was off the greenhouse to fill the tubs with potting mix and place them in position. The only extra job I had to do was seal the original holes on one of the tubs with some hot melt glue and small squares of plastic


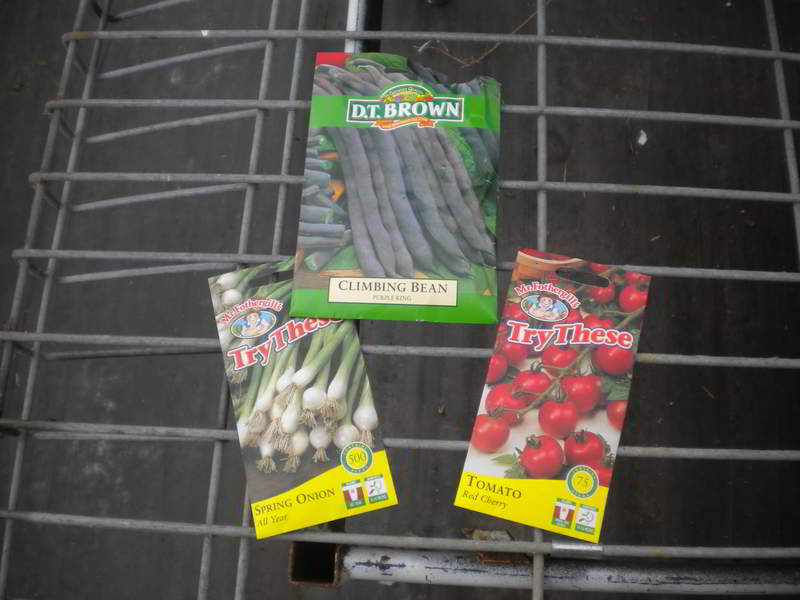
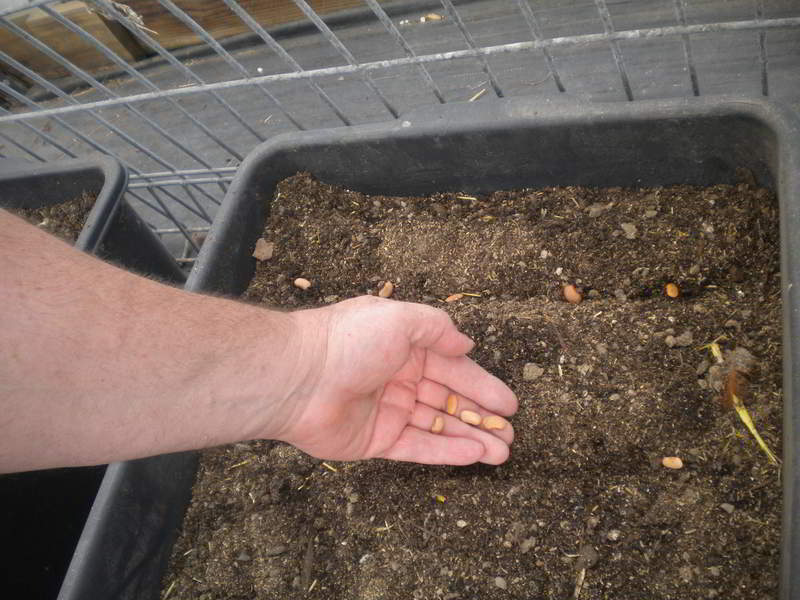
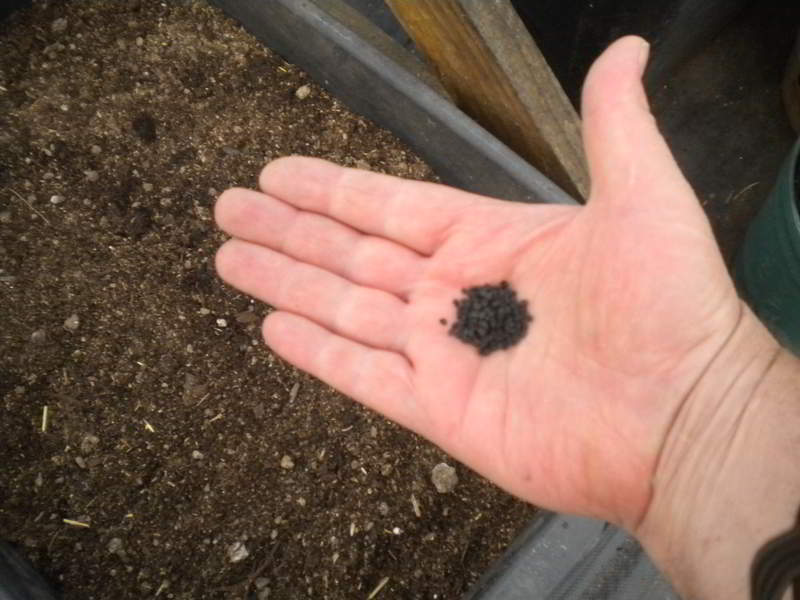
I planted a mix of climbing beans at the back followed by cherry tomatoes in the centre and spring onions at the front.

greenhouse-tubs-04 greenhouse-tubs-05

greenhouse-tubs-06 greenhouse-tubs-08

greenhouse-tubs-09


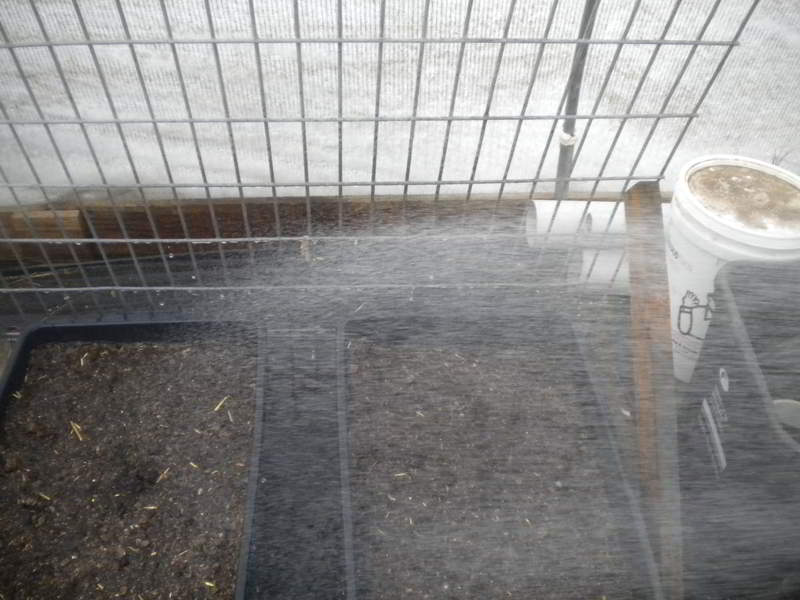
A quick soak until the water started to dribble out of the drainage holes and it was done.


greenhouse-tubs-10


It will interesting to see how well it works.

I’ll provide regular updates on the progress of the plants and we’ll see if the simplified construction does the job or if I have to go back to drawing board 🙂

What do you think of this post?
  • Awesome (1)
  • Interesting (5)
  • Useful (3)
Apr 14

The Mulcher Rises from the Prunings

I remember it well, mulching away on a bright sunny day, pushing more and more branches through the mulcher, feeding more and more through it in a mulching frenzy and then…

“CRUNCH, CRACK, WHIRRRRRRRRRRRR!”

Hmmm, that didn’t sound good and why have the branches stopped in the mulcher?

All the branches were jammed in the mulcher and the adjusting screw on the side was at a funny angle and wouldn’t move! BOTHER! it’s broken! I had a quick look but couldn’t see anything obvious without pulling the covers off. The branches were well and truly jammed.

But I had some other things to do. So I put it away to look at later.


Just a Little Crack

Just a Little Crack


Quite a bit later (several weeks) I finally got around to look at it and I pulled the cover off and saw the casting had cracked.

It didn’t look too bad, maybe I could either weld or buy a right-angle bit of metal and bolt it on to hold it together.
But I had some other things to do. So I put it away to look at later.


Maybe the Damage is a Bit More Severe

Maybe the Damage is a Bit More Severe


Quite a bit later (many more weeks) I dragged out the mulcher, cleaned out the branches and took the cover off. Oh Oh! There appears to be a bit more damage than I first realised. This will be a much bigger job than I first thought.

This time I didn’t put it away but had a closer look and tried to figure out a plan to repair it if it was possible.


This is a Bit of a Mess

This is a Bit of a Mess


It was pretty clear that this casting was not repairable (just to be sure I touched it with the welder and got the non-result that I expected) and I was going to have to come up with another solution. Some sort of bracket would probably be the best bet but coming up with a workable solution was proving difficult.


This is the Problem

This is the Problem


I started to map out a solution requiring iron bracing inside the remaining casting with supports either side and a flate plate to replace the missing side wall and it was looking really, really complicated and time consuming. Then it dawned on me that I was over thinking this and all I really needed to do was make a frame to hold the adjusting screw and support the end plate.


This is the Solution

This is the Solution


Using some pieces of scrap 25mm RHS I welded up a frame that would fit over over the end plate and provide a mounting point for the adjustment screw. I must admit, my welding left a lot to be desired and the bracket looks pretty rough but it should do the job.


The Thread for the Adjustment Bolt

The Thread for the Adjustment Bolt


I was going to weld a nut onto the mount but I didn’t have one of the right size nor could I find one at the local hardware store. I was about to buy a nut and bolt combo and just use the nut when I found a joining collar with the right thread. I could cut it down to fit inside the RHS and it would be a better solution than the nut. Even better was that it was cheaper!


It was a simple matter to cut and weld it in place and and test it to make sure everything lined up properly.

The Thread in Place

The Thread in Place

Testing the Cutting Adjustment

Testing the Cutting Adjustment


A quick coat of anti-rust paint and then it was bolted to the end plate by one of the now redundant bolts ready to be bolted back onto the mulcher.

Coated with Anti-Rust Treatment

Coated with Anti-Rust Treatment

Single Bolt Holding the Plate and Bracket Together

Bolt Holding the Plate and Bracket Together


All Mounted Back Onto the Mulcher

All Mounted Back Onto the Mulcher


Once it was all mounted on the mulcher, I switched on the mulcher and adjusted the cutting edge. So far so good, now the real test.


Testing the Mulcher

Testing the Mulcher


SUCCESS!! Here I am, doing the first test and happily mulching away.

It took several hours to do this repair but I am very happy with the result and the mulcher seems to be as good as new.

However, I will take it a bit easier now and not try to force so much through the poor little machine!

What do you think of this post?
  • Awesome (0)
  • Interesting (6)
  • Useful (3)
Apr 13

Getting Ready for Winter in the Greenhouse

I have had a rush of blood to the head recently with the onset of the cooler weather and some welcome time at home, and have been doing a bit of tidying up around the house and garden. After cleaning up some plants around the pergola and getting rid of some of the clutter, I turned my attention to the greenhouse and a job I had been putting off for some time

Our greenhouse has been in place for a couple of years now since a friend and I built it to pool our resources and use it as a shared facility (you can read about it here). It has been a real boon in extending the growing season for many plants and also for growing some plants that would be difficult otherwise. However. I have not really used it as well as I could partly because of the way it had been set up.

Originally, I had a section down the back of the greenhouse for my plants while my mate had the bulk for his Aloes. It was, and is, a good arrangement except for one thing. As the aloe plantings have expanded and grown it has been becoming more difficult to get to the back of the greenhouse on a regular basis. The area was being used less and less simply because it was hard to move things back and forth and to water etc. without getting caught on the spines or damaging some of the rare aloes. I had been thinking about re-arranging things to move my section to the front as it was the most used and now was the perfect opportunity as a few weeks ago my mate had taken a lot of aloes away to sell at a plant shows.

GreenhouseClean-01


There was a lot grunting and heaving and lifting and carrying and sweeping and more sweeping and yet more sweeping. I must have swept out about 10kg of dirt, sand and weeds!


GreenhouseClean-02GreenhouseClean-03


GreenhouseTable-01


I also took the opportunity to recycle the table frame I rescued from the hard rubbish collection a while ago and a section of second hand mesh fence to build a propagation/potting table for the greenhouse.


GreenhouseTable-02 GreenhouseTable-03


Securing the mesh to the table frame


GreenhouseTable-04


It turned out really well, and the only cost was the price of a few screws and a piece of scrap bracing strap for brackets.


GreenhouseTable-05

I also rebuilt my climbing frame ready for some winter tomatoes and cucumber. We’ll see how well they turn out.

Everything has been moved now and it is so much easier to access the area and materials like potting mix, and water the existing plants.

It’s just a matter now of cleaning the pots and get planting 🙂

What do you think of this post?
  • Awesome (3)
  • Interesting (3)
  • Useful (2)
Apr 07

Music to prune by

It was a glorious day on Sunday and the afternoon was particularly delightful

Not too hot and not cold,
not too sunny and not to dull
but…Juuust right!

A great day to clean up the area around the house and remove some of the excessive growth on the vines and trees under the carport. And what better way to do it than to set it to music.

An interesting mix of music that included music from Franz Liszt and Beethoven, “The Beatles” and “System of a Down” provided the perfect backdrop.

The grape vines needed some serious work as I wanted to untangle them from the wire netting and move them all to the front so that it will give them more room and make it easier to net them to protect against the birds

grapes01grapes02

I had to cut thegrapes04m back pretty hard but I finally got them all rearranged and ready for next season. I will get a smaller crop next year as the grapes grow on new shoots from one year old wood and I removed many of the buds that would produce grapes. However, we should get it all rather the birds! and it will be a bumper season after that.


grapes05

I also cut back the bay leaf and the passionfruit very hard to make more room and provide extra light and warmth to the the house.It was a fair bit of hard work but made all the easier listening to the music in the background 🙂

What music do you listen to in the garden?


What do you think of this post?
  • Awesome (0)
  • Interesting (3)
  • Useful (2)
Apr 01

FrankenCarrot

No, we’re not talking about the results of some crazy genetic experiments by multinational chemical companies. This is just one of those weird garden surprises you find sometimes.

We have a backyard of self seeded veggies including carrots. Some of the carrots are growing garden beds while others have made their home in between the beds, in the mulch, in hard clay, under trees, in amongst the grape vines and a few even tried gaps in the concrete paths. Many in crowded clumps and many others solitary and far from the crowds.

frankencarrot
With so much variation in growing conditions you will get a variety of strange shapes and sizes and carrots seem particularly prone to strange forms. This little beauty was no exception. Found in a corner of one of the veggie beds this masterpiece of strangeness provided enough carrot for two meals!

What strange shapes have you found in the garden?

What do you think of this post?
  • Awesome (0)
  • Interesting (5)
  • Useful (3)