Sep 29

SWARM!

BEES! Everywhere! Swarms of them!

Well, maybe that’s a bit of an over statement but…

About four weeks ago, my mate came and checked on his bees that he overwintered at our place. He also checked on ours since we were away. He rang to say that he was gobsmacked! because the bees were overflowing in the hives! They were doing so much better than his other hives and he had to put an extra super on each one of the hives, his and mine. He was reasonably confident that the additional supers would keep them under control and not prone to swarming until we were able to do a thorough check on the them and extract some honey. In the process he used the last of my frames and needed to replace them. “Not a problem”, I said. Little did I know.

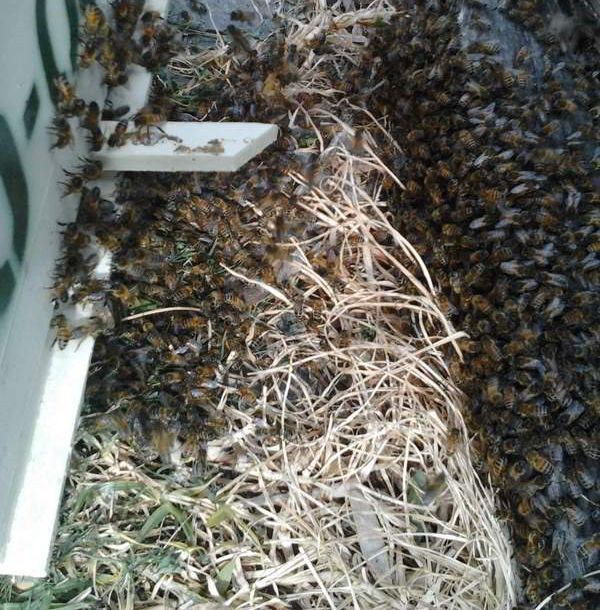
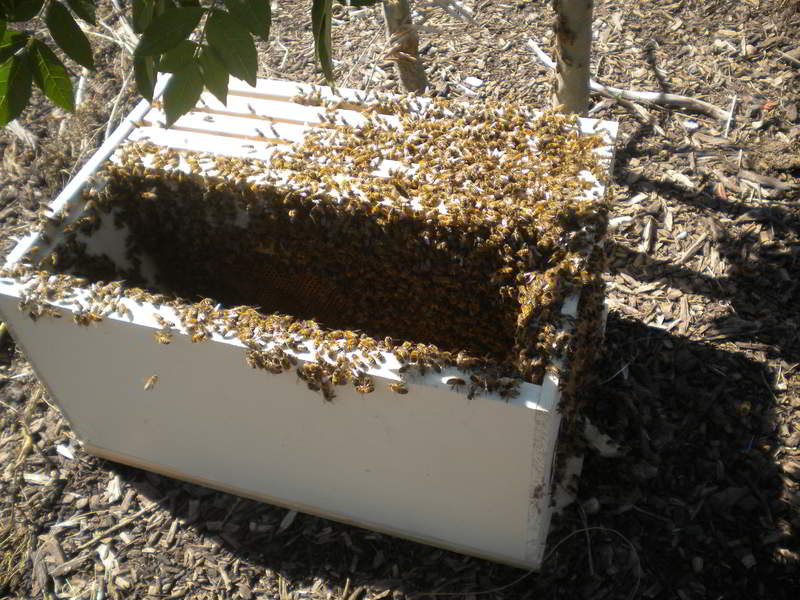
Two weeks ago on the Sunday, my neighbour rang me to say he had a swarm in his backyard. I told him I would come over and check it out. Sure enough, there was the swarm in some ground hugging bottle-brush. Were they mine? Maybe. In any case, in the interest of keeping everybody on side, I grabbed a box to collect the swarm and remembered that I had no frames! Fortunately, I had a base and a lid. They hadn’t been painted yet but they would be fine. What to do? I opened up the largest hive and grabbed three of the new frames that hadn’t been built on yet and a frame of honey and just used four frames in the hive and collected the swarm with no problems, under the watchful eye of a few friends.

stragglers swarm001-watchers

My mate dropped off the replacement frames on the following Friday and I dropped them into the new hive and the large hive on Saturday morning. That’s it, I thought. Now all I had to do was build another base and lid to be painted and build some more frames for the additional hive. Easy!

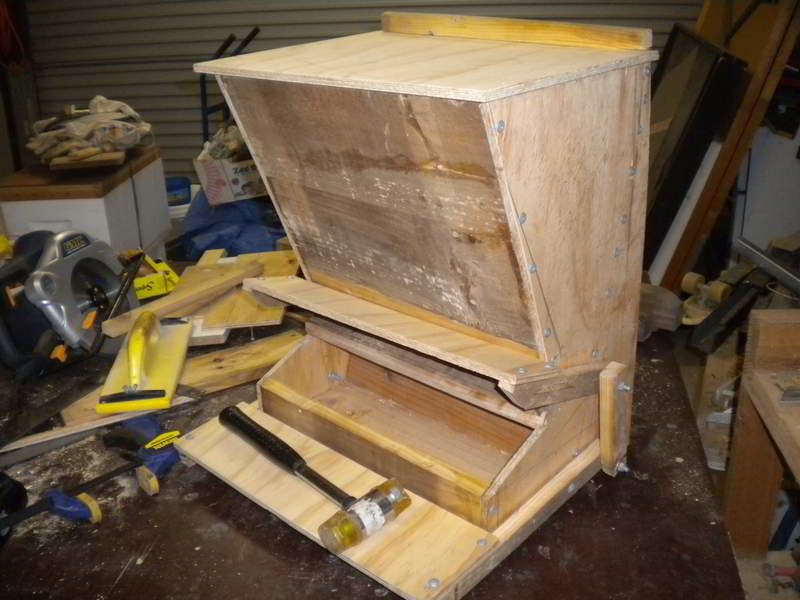
The next day, Sunday my neighbour’s son came over to tell me there was another swarm.  Damn!  I was in a bit of a bind now because I had no lid and no base as well as no frames. I scrounged around the garage and found enough material to make a serviceable base and a temporary lid. I quickly built the base and, because I had no Em-locks, tacked it onto the super. I opened up the largest hive again and took back the frames from the previous day including a full capped framed. I went over to the swarm, which turned out to be in our backyard near the fence , and successfully lured them into the hive.

swarm001 swarm002

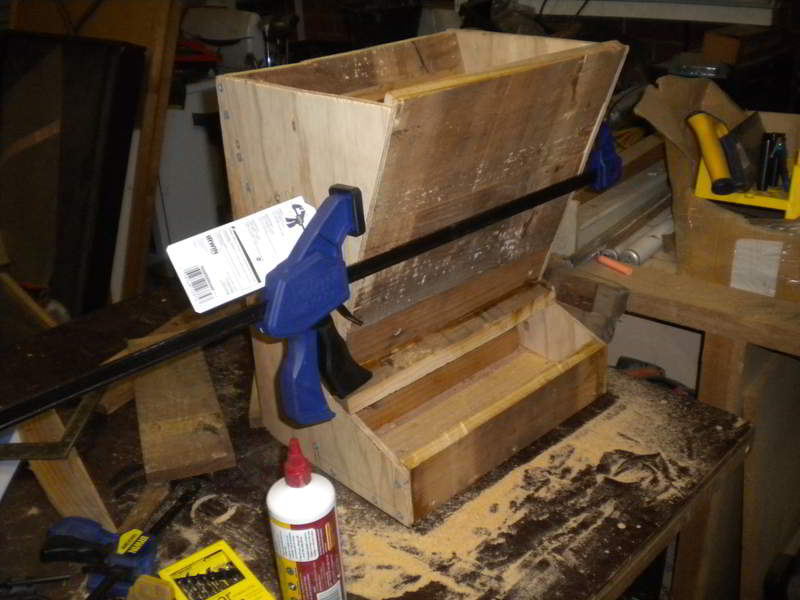
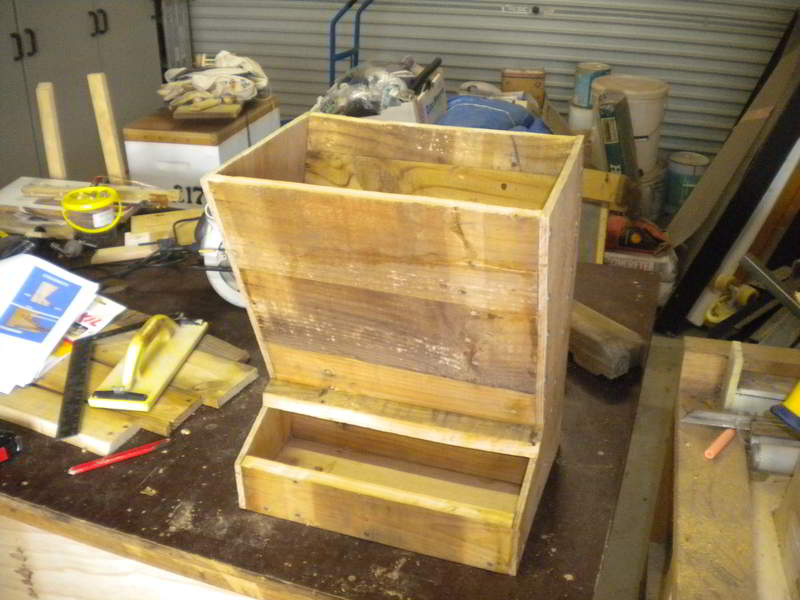
So, now I had another hive with an ad-hoc lid with spacer and a temporary bottom with no feet. I was also short eight frames again! That meant I had to make up another eight frames to fill in the gaps in the two hives, make a new lid to replace the existing temporary one and make a new base to replace the one with no feet. So during the week, I bought some frame kits and foundation and made another eight frames. I also bought a sheet of 3-ply and some masonite and built a replacement lid.

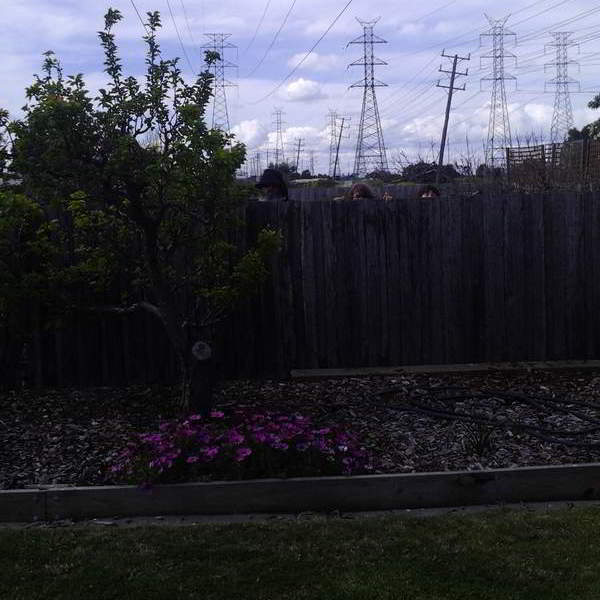
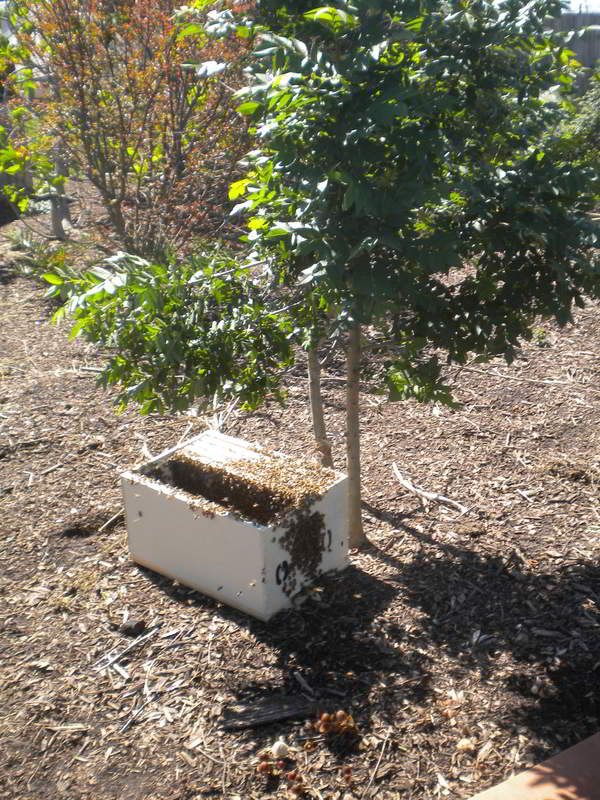
Today, Sunday, I went down to the hives to replace the frames and, in the tree near the compost heap, I saw…yes, you guessed it…another swarm!! “This is getting bloody ridiculous”, I thought.

swarm003

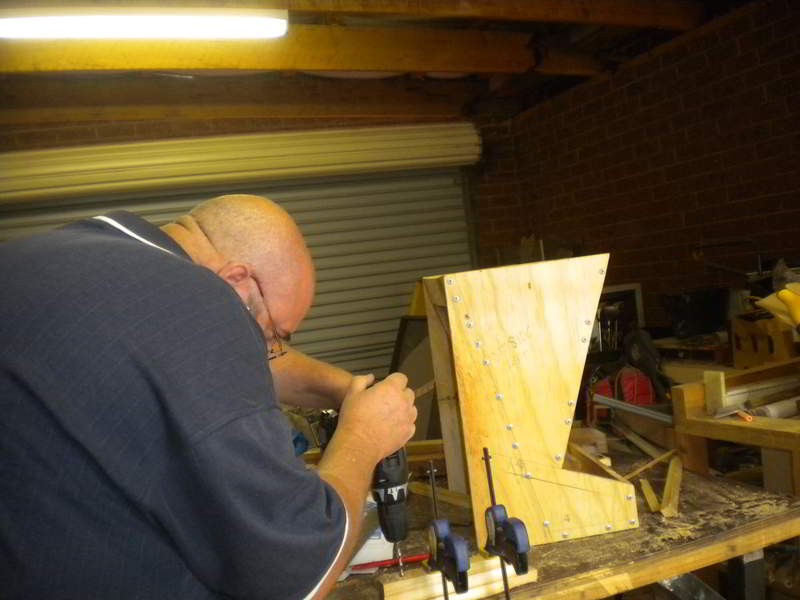
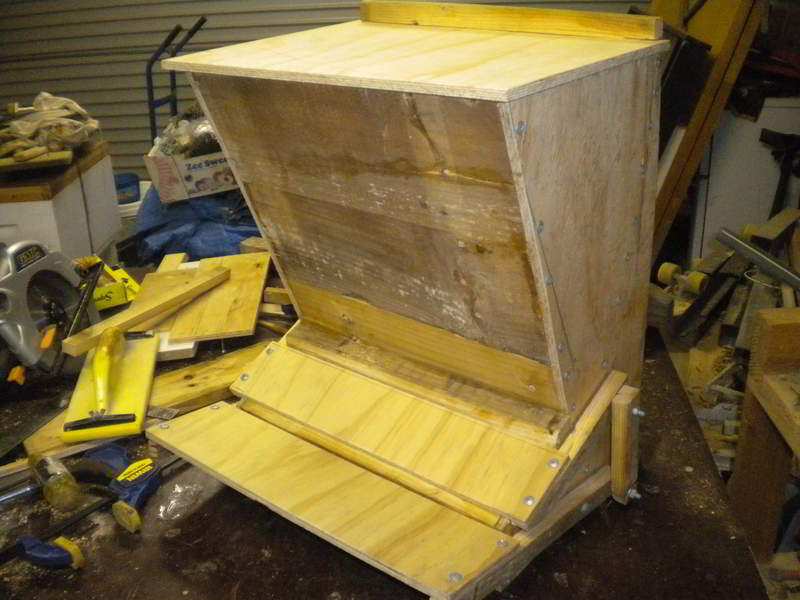
This time I didn’t even have any material to make a temporary base. So it was off to the hardware store to buy some lengths of pine to make the spacer and opening for the base. I quickly assembled the base, dropped in four of the frames I had built during the week, one drizzled with bit of honey, and unceremoniously dumped the swarmed onto the hive. They seemed to have settled into the hive now.

swarm004

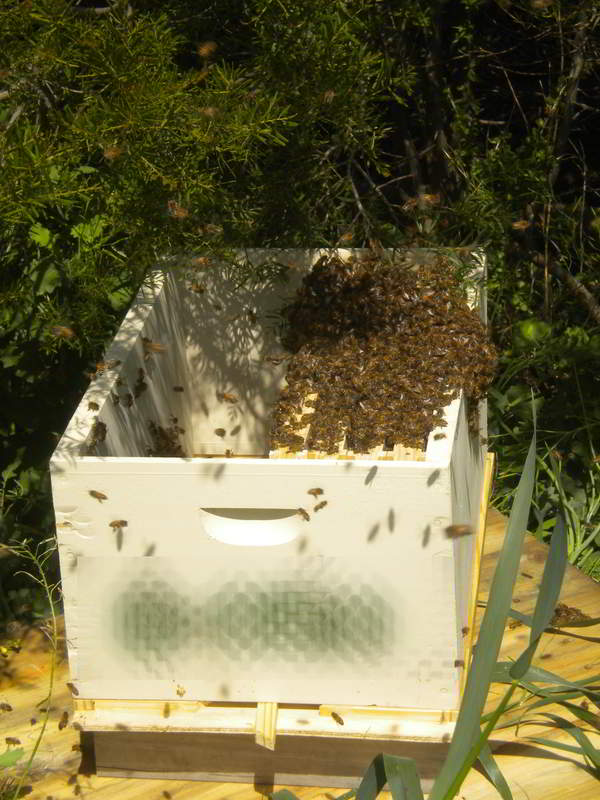
I took the remaining four frames and put them into the new hive from last week. Just as well I did because they had already constructed a full comb in the empty space and had started filling it with honey!

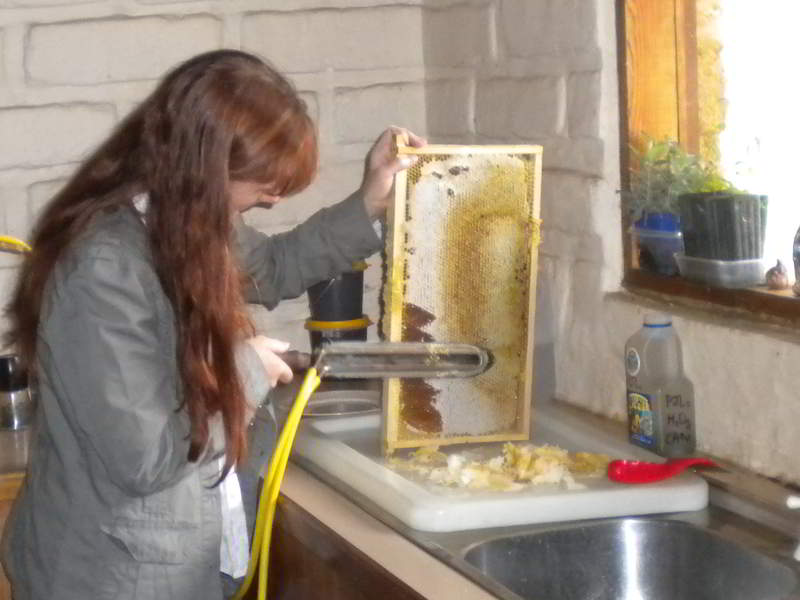
Now, in the space of three consecutive Sundays, I have gone from two hive to five hives. I have two hives that need four frames each as soon as possible. Plus I will need a further 24 frames fairly quickly to allow for expansion of the new hives as they are growing at an astonishing rate. I also need to build another two lids and bases so that I can paint them and start rotating out the temporary lids and bases. In addition, I will need to build another three supers at least to accommodate the additional hives And I have to start extracting honey from the established hives!

I might be able to give my mate one of the hives, particularly the first one as we think it may have come from his original hive with his brand new queen. If so, that would mean he would get his queen back and I would be left with four hives. I think that is a more manageable number.

This was supposed to be a relaxing hobby! 🙂


What do you think of this post?
  • Awesome (7)
  • Interesting (9)
  • Useful (5)
Sep 28

Feeding the Chooks?

I can’t believe it’s been so long since I updated this blog.

Quite a few things have happened recently including, traveling to East TImor, Contracting Dengue Fever! (a story for another time) and going on a road trip for a mate’s wedding and to visit family in Queensland (also the subject of a future blog) which, strangely, leads us neatly into the subject of today’s little missive.

While we were away in Queensland, the task of looking after the chickens, along with all the other household tasks, fell to the younger members of the household. By and large, our twenty somethings did a sterling job and the house was still standing and in one piece on our return two weeks later.

However, when I asked about the chickens, they told me that the chickens were OK but they hadn’t been getting many eggs in the last few days. At first I thought the chooks had found another place to lay but when I asked about refilling the feed hopper as I had instructed before we left, they looked at me blankly (the youngens not the chooks). One of the them replied,  “Oh, sorry, I didn’t know! But I did give them a bowl of food the day before yesterday ’cause they seemed to be hungry!”

When I pointed out that, unlike the cat who took days to get through a bowl of dry food, the chickens would eat bowl of feed in less than a day and were probably starving, they were ashen faced. Sure enough, when I went to check on the chickens, they were out of food and they fell over themselves racing up to the hopper as I refilled it.

I checked them over and they seemed to be in pretty good condition which is understandable since they are have a relatively large area to roam and had been able to get a reasonable amount of food to keep them going. However, the first thing chickens do when they get very hungry is to shut down egg production and this was the reason for the lack of eggs. I figured that the hopper was probably empty for about 6 days before we got home!

egg-production-dip-lores

Even after the chooks had a good supply of food it took quite a while for them to come into production again and it was probably two weeks before they were back to normal.

This highlights three things

  1. If you are going to keep animals of any kind, whether it be chooks or goldfish, cat and dogs or even bees, then it your responsibility to make sure they are looked after and cared for. It doesn’t matter why you are keeping the animals. They could be pets or companions, producers or food, or any other reason. Once you have them, you have accepted responsibility for their well being.
  2. Quite apart from the ethical and moral considerations, if you don’t look after the animals that are producing eggs, honey, milk, wool,etc. than their productivity drops and you lose that benefit.
  3. If you are going to entrust others to look after animals on your behalf then it is critical that you make sure that they have been given proper training or instructions and have demonstrated that they understand how to care for the animals.

We were probably a bit lucky that no real damage was done and our chooks did not suffer any ill effects in this case, but it goes to show that you can’t afford to be complacent.

Ah well, as Shakespeare said…

“All’s well that ends well”


What do you think of this post?
  • Awesome (4)
  • Interesting (4)
  • Useful (3)
May 10

A Wonderful Idea

Sometimes you can forget, working away in your own backyard, that there are so many wonderful people out there who have the same concern and commitment to the environment and passion for sustainability.

Then along comes an event like this

A short documentary that follows the challenges of attempting to feed 2,200 people in the Sydney Opera House audience of TEDxSydney 2013 using only home grown & locally grown food.

Produced by The MilkBar, Sydney for TEDxSydney 2013.

You can find the original post HERE

A totally awesome idea that I felt compelled to share.

Perhaps we can each do it on a smaller scale in our own neighbourhood and create a grow it local event ourselves?

What do you think?

What do you think of this post?
  • Awesome (1)
  • Interesting (1)
  • Useful (0)
May 01

A Cunning Chook feeder

After much deliberation and procrastination, I finally put saw to wood and constructed the long awaited improved chicken feeder that I’ve been promising myself for ages.

Why a new chook feeder? Well, one of the problems with having truly free range chooks that are un-penned during the day (apart from the risk of Bloody Foxes), is that every freeloading sparrow, pigeon, starling, etc. comes from miles around to have a free feed.

This new feeder should fix that problem by allowing only the chickens to open the lid to get the feed.

chicken-feeder-09

Through a clever arrangement of levers the chickens can open the lid by stepping on the tread at the front of the feeder. However, other birds are not heavy enough to get the lid open.

Hey Presto! No more stolen feed.

If you want to build one yourself there are plenty of plans and photos on the web. One I found particularly useful is at http://www.woodworkingcorner.com/feeder.php.

chicken-feeder-01

Using a mix of spare plywood, recycled pallets, a bit of glue and lots of screws plus a great deal of sweat and cursing, I was able to cobble together a reasonably functional feeder.

chicken-feeder-02

The feeder starting to take shape now that the sides are connected to the back. If you look carefully, you can see the individual slats that have been rebated to fit together with a bit of overlap. The main problem doing it this way is the additional screws to hold each slat in place.

chicken-feeder-03

chicken-feeder-04

With the front, also made of individual slats, attached, the overall shape is well defined. It time to start on the treadle and the linkages.

chicken-feeder-05

The links were made by ripping the slats into 25mm wide strips and cutting them to length. Then drilling the holes in the links for the bolts. Drilling them in pairs makes sure that the measurements are the same on both sides of the box. It would be nice to have a drill stand (sigh). But that’s a toy for the future.

chicken-feeder-06

Tada! The finished unit with the feed access closed!

chicken-feeder-07

The finished unit with the feed access open…

chicken-feeder-08

…and with the hopper lid open for filling.

chicken-feeder-09

The feeder in place in the chook shed. The chooks looked bemused when I put in the coop but they seem to be using it without any problems. There is a screw in the side holding the access flap open so that they get used to it.

In a few days I will move the screw so that the access is only partially open so they get used to it moving and then, a few days later, I will remove the screw completely and the feeder will be fully functioning.

It’s taken a lot more effort than I anticipated but it will be worth it because I will be able to place many days of feed in the coop without worrying that the freeloaders will get it. Plus it’s always a nice feeling to make useful stuff using recycled or re-purposed material. It also saves a lot of money. Some of these feeders commercially cost hundreds of dollars. This one cost me less than $20 in bolts, screws and glue. The ply was left over from another project and the rest of the timber was from an old recycled pellet.

Very happy with the result. 😎

What have you made using recycled materials?

What do you think of this post?
  • Awesome (21)
  • Interesting (10)
  • Useful (10)
Apr 13

Waxing Lyrical

uncapping 003

Another post about bees
Or more precisely their wax
And what to do when
you simply have stacks

Don’t throw it away
or leave it in heaps
where the honey and mess
through it all slowly seeps

Just gather it up
into one pot
the bit’s and the pieces
and heat up the lot

Together with water
to wash off the gunk
heat ’till it’s melted
and floats on the junk

The wax will go hard
as it cools in the ooze
you can then lift it off
and use as you choose

Use it for ointments
or maybe a candle
for polish and sealant
it’s hard to mishandle

You can even recycle
it back to the supplier
for the sheets in the frames
that are strengthened with wire

So think before tossing
or throwing away
this wax is worth keeping
it’s the sustainable way!

cappings
wax001
wax002
wax003


What do you think of this post?
  • Awesome (6)
  • Interesting (7)
  • Useful (0)